
Adding Ajax to Existing Applications Part 1
This lesson focuses on modifying an existing application to incorporate Ajax. I've chosen to modify the JumpList component that you built in Assignment 3 so that it uses Ajax to fetch information about the books available in your book store. There are a few things that need to happen up front in order to make this as easy as possible.
The best way to get started is to create the Web Application in Netbeans and then add the files necessary for it to function to the project. If you start with the files first, Netbeans makes it much mor difficult.
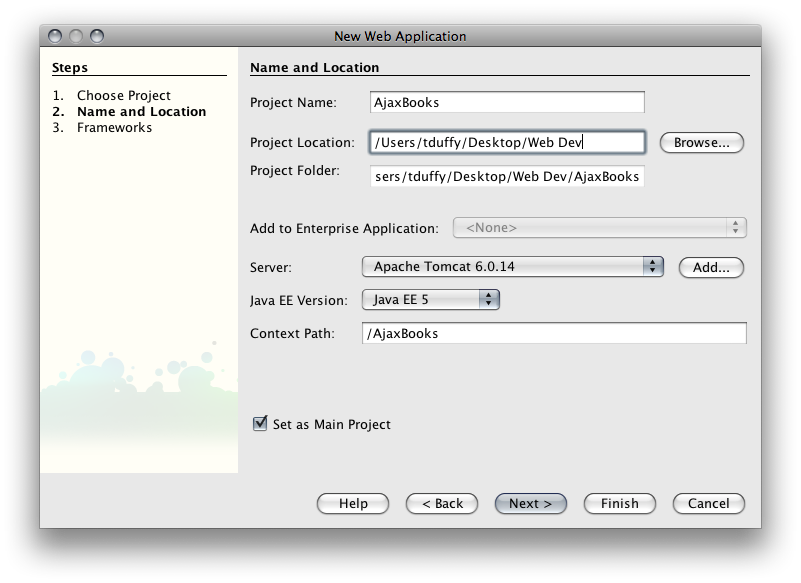
1. Start Netbeans. From the File menu, choose New Project. Select Web and Web Application, Click Next.
2. Name the Application AjaxBooks, set the Server to Tomcat, and click Next. Please pay attention to where you put your project as you will need to copy the data file to the correct folder later on.
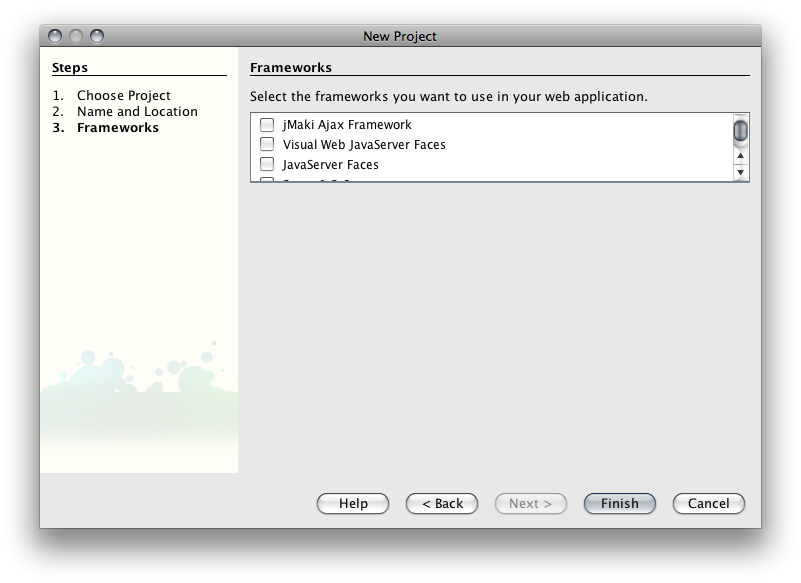
3. You won't need any Frameworks. Click Finish and let Netbeans set up the project for you.
Although you could use the HTML file I've given you as your data source, it will be an order of magnitude easier if the data resides in an XML document. Since we can define tags like <Description> and <price> in XML, we won't need to loop through the DOM tree and examine the contents of each of the <td> tags in the HTML that currently holds the data. That's the major difference between XML and HTML. XML is self-defining. That is, the element names carry their own descriptors. HTML is really a publishing language. Think about the elements of HTML: <p> is a great example. It can contain virtually anything because it is just a paragraph. Contrast that with a tag like <Description>. A <Description> element is probably just a paragraph too - but it's not just any paragraph anymore. It's is a specific piece of data that fits into the data hierarchy defined by the rest of the XML document.
Here is what the XML document will look like:
<?xml version="1.0"?>
<root>
	<record>
		<ISBN>0-07-882122-3</ISBN>
		<Title>Oracle: A Beginner's Guide</Title>
		<Category>database</Category>
		<Description>A beginner's guide to the complex and powerful Oracle database management system.
		Teaches you how to set up, query and manage your database, including principles of database design,
		how to manage data, generate reports and tune the system for optimal performance.</Description>
		<Price>30.00</Price>
		<au_firstname>Michael</au_firstname>
		<au_lastname>Abbey</au_lastname>
		<Coverpic>images/Oracle.JPG</Coverpic>
	</record>

...more records...

</root>
You can get the file here: allBooks.xml
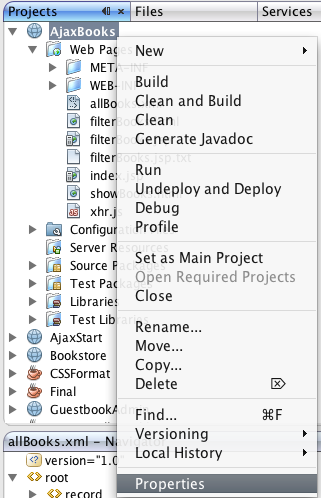
4. Save the file inside the web folder of the AjaxBooks project. You'll need to find that on your hard drive. Can't find your Project? Right-click the AjaxBooks project in Netbeans and choose Properties.
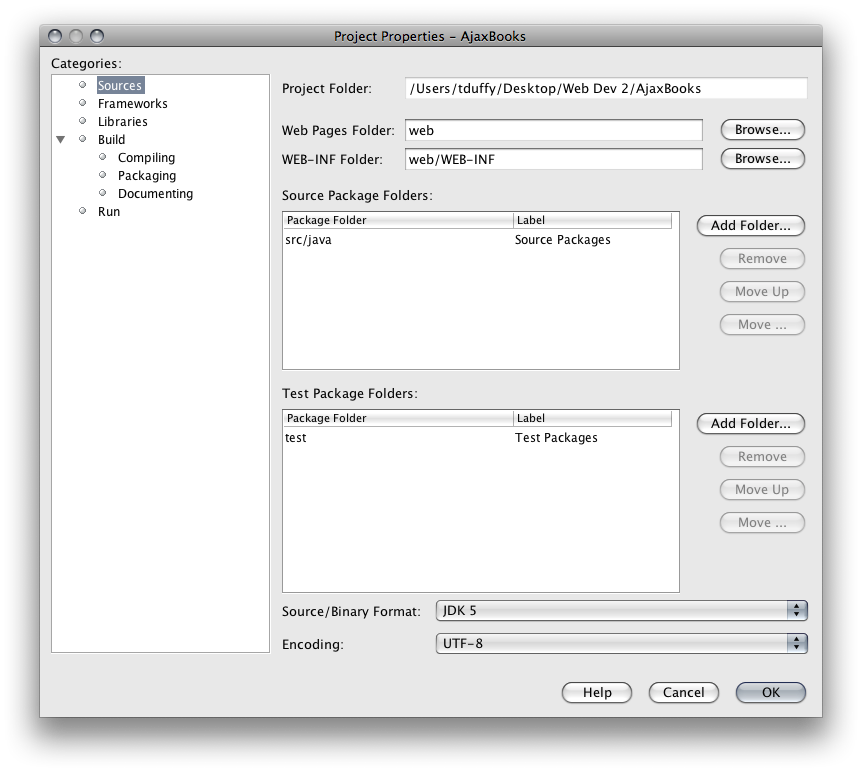
Click on the Sources node. The Project Folder is where you saved the Project. The Web Pages Folder is where you want to save the XML file.
I'm sure you noticed that in the last lesson, we duplicated a lot of code in each file. I'm going to factor out the duplicate code and store it in a separate file. Then I'll just reference it when necessary.
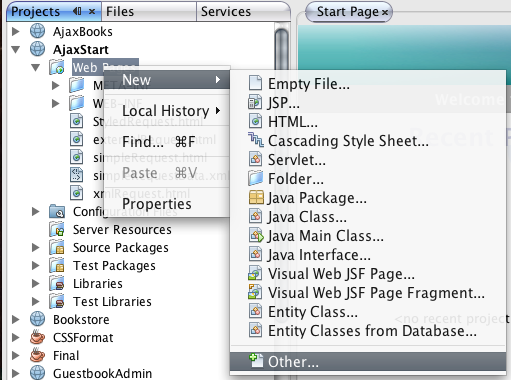
5. Right-click the Web Pages node and choose New > Other
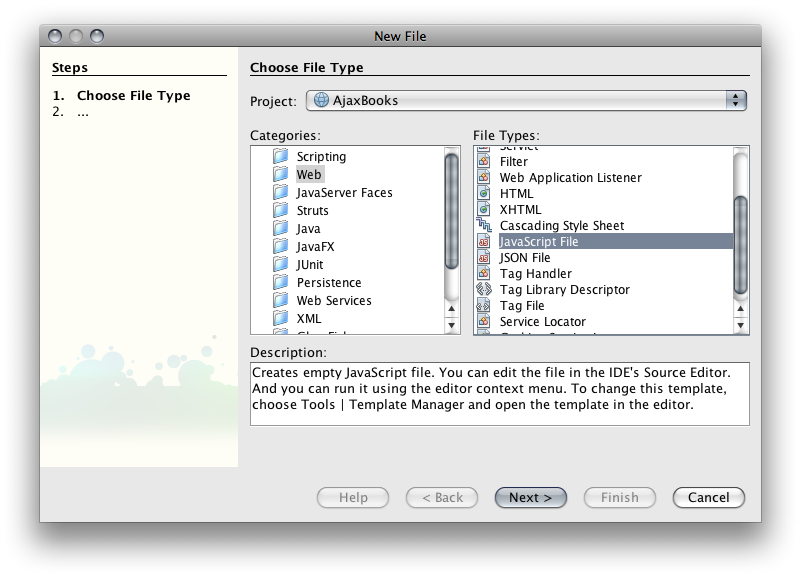
6. Choose Web and JavaScript file
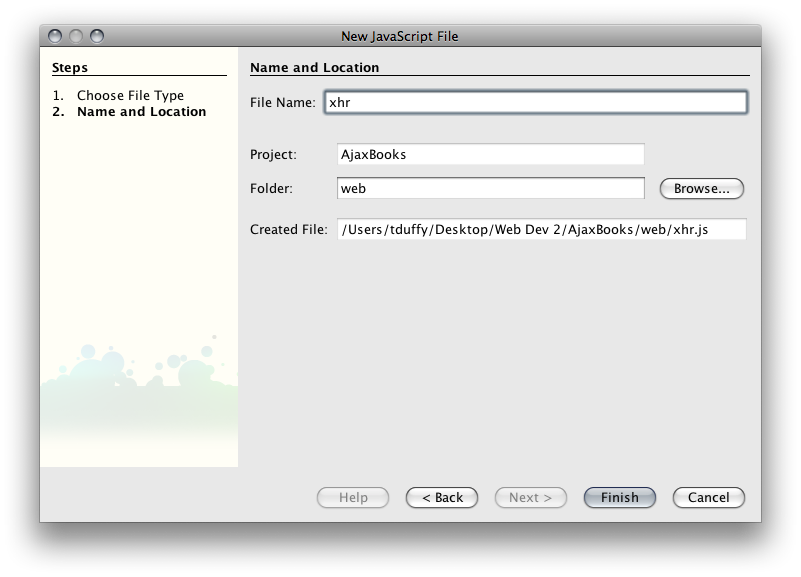
7. Name the file xhr and click Finish.
8. Add the following code to xhr.js
var req = new xhr();
function xhr(){

    try
      {
      // Firefox, Opera 8.0+, Safari
      req=new XMLHttpRequest();
      }
    catch (e)
      {
      // Internet Explorer
      try
        {
        req=new ActiveXObject("Msxml2.XMLHTTP");
        }
      catch (e)
        {
        req=new ActiveXObject("Microsoft.XMLHTTP");
        }
      }
    return req;

}
function sendReq(method,url,content){
    if(req.readyState == 4 || req.readyState == 0){
        req.open(method,url,true);
        req.onreadystatechange = processResults;
        //You MUST have a function named processResults
        req.send(content);
    }
}
The above code is similar to what you have seen before. It creates the XMLHTTPRequest object and provides a sendReq() method for you to use. Note that sendReq() has 3 parameters - a method, a url, and content. The content is optional and, if you leave it out, will be null. You should also note that the conditional makes sure that the object isn't in the middle of a request by making sure that the ready state property is either 0 or 4. Finally, note that I have assigned a function named processResults to the onreadystatechange property of the object. That means that you must include a function somewhere in your application named processResults() that handles the call backs of the object. The XMLHTTPRequest object will call this function each time its readyState property changes. Since processing results is different for every page, the processResults() function doesn't belong here - it belongs on the page where you will do the processing.
Let's see if we can display all of the books in an HTML table. Then we'll move on to the JumpList.
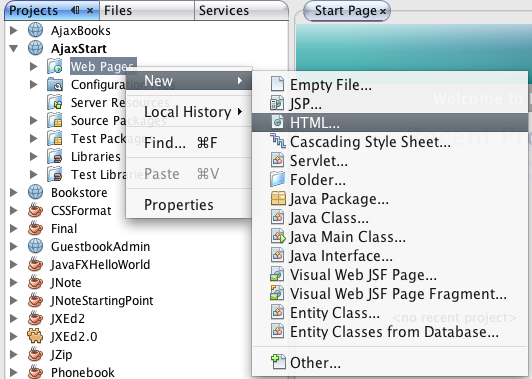
9. Right-click the Web Pages node and choose New > HTML... Name the file showBooks and click finish.
10. Add the following between the <body> tags:
 <form>

  <input type="button" value="Get Books" onClick="sendReq('get','allBooks.xml')" />

  </form>

  <div id="books">


  </div>
11. Add a reference to xhr.js in the <head>
<script type="text/javascript" src="xhr.js"></script>
12. Add the processResults() function to the <head>
    <script type="text/javascript">
        function processResults(){
            if(req.readyState == 4){
                if(req.status == 200){
                    var display = '<table border="1">';
                    display += '<tr><th>ISBN</th><th>Title</th><th>Category</th><th>Description</th><th>Price</th><th colspan="2">Author</th><th>Cover Pic</th></tr>';
                    var records = req.responseXML.documentElement.getElementsByTagName('record');
                    var len = records.length;
                    for(var i=0; i<len; i++){
                        display += '<tr>';
                        var data = records[i].childNodes;
                        var dLen = data.length;
                        for(var j=0; j<dLen; j++){
                            if(data[j].nodeName == '#text'){
                                continue
                            }
                            display += '<td>' + data[j].firstChild.nodeValue + '</td>';
                        }
                        display += '</tr>';
                    }
                    display += '</table>';
                    document.getElementById('books').innerHTML = display;
                }
            }
        }

    </script>
The code above is actually pretty straightforward. After the usual sanity checks, an HTML string is built using the data from the responseXML property. The code first grabs all the <record> elements and then loops through them (the outer loop). Then, for each record, the data in each element is added to the HTML string (the inner loop). Finally, the HTML string is assigned to the innerHTML property of the books <div>.
13. Right-click showBooks.html and choose Run File.
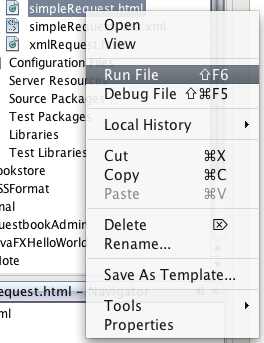
Netbeans should start Tomcat and your browser if necessary and then serve the file to your browser. If your Browser doesn't start, try starting it and re-running the file. If that doesn't work, try navigating to: http://localhost:8084/AjaxBooks/showBooks.html.