
Getting Started With Google Android Studio
This tutorial will offer you a brief view into using Google's Android Studio. Be aware that Android Studio is a pre-release product. That means that some features won't work or aren't even implemented yet. I'm working with v. 0.2.3 and I've found it at least usable! If, however, you are doing any real work for Android, you should almost certainly download and install the Android Developers Toolkit (ADT).
When trying out any new IDE, one of the hardest things to do (at least for me) is to "unlearn" all of those tricks you use on a regular basis in your current IDE. Moving to Android Studio is no different. If you've been working in Eclipse with the ADT, you'll find things maddeningly familiar - but different enough to make you crazy!
The obvious fist step is download and install Android Studio. You can do that from here: http://developer.android.com/sdk/installing/studio.html
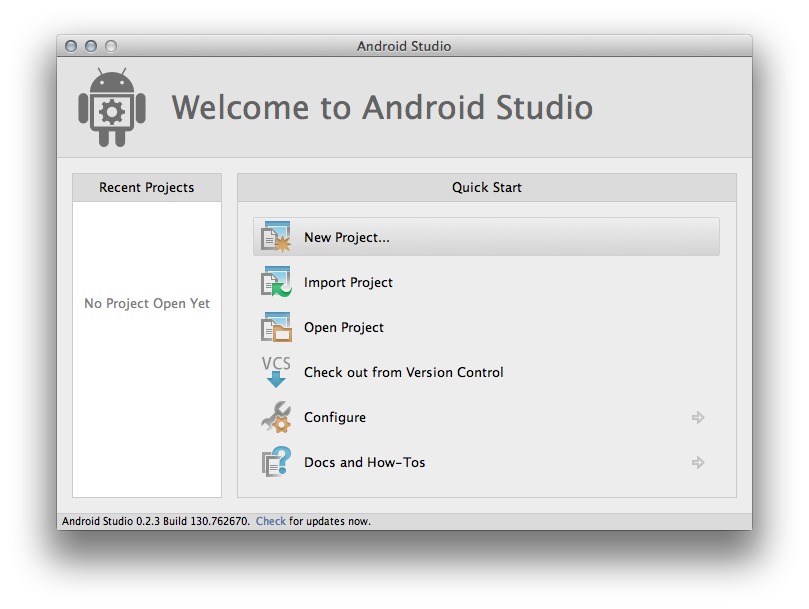
On launch, you'll be presented with a series of dialog boxes to get you started. I found these to be quite helpful and robust enough to include most of the things you'll need to do some real work. The first dialog allows you to choose what you'll work on from a very general standpoint.
For obvious reasons, I chose to start a New Project. I was then shown a dialog that let me determine the app's name and unique identifiers. I could also set which SDK to use. I chose to target Gingerbread and compile with Jelly Bean.

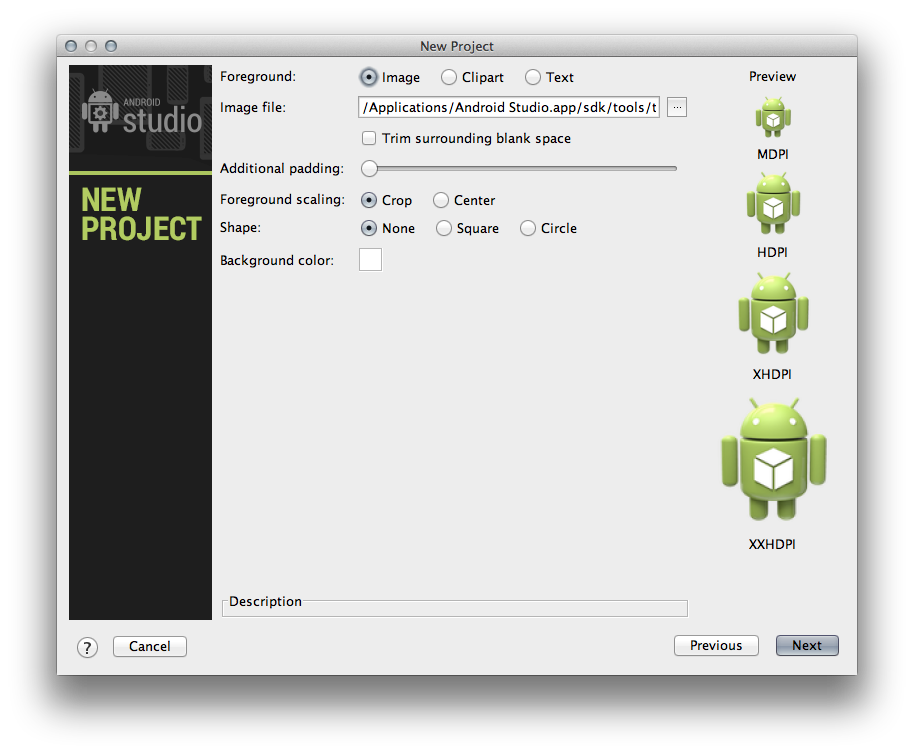
Because I chose to create a custom icon launcher on the previous screen, I was presented with a dialog that allowed me to specify which images to use for the app. Here is where you could specify your launcher icons and such. I left the defaults.
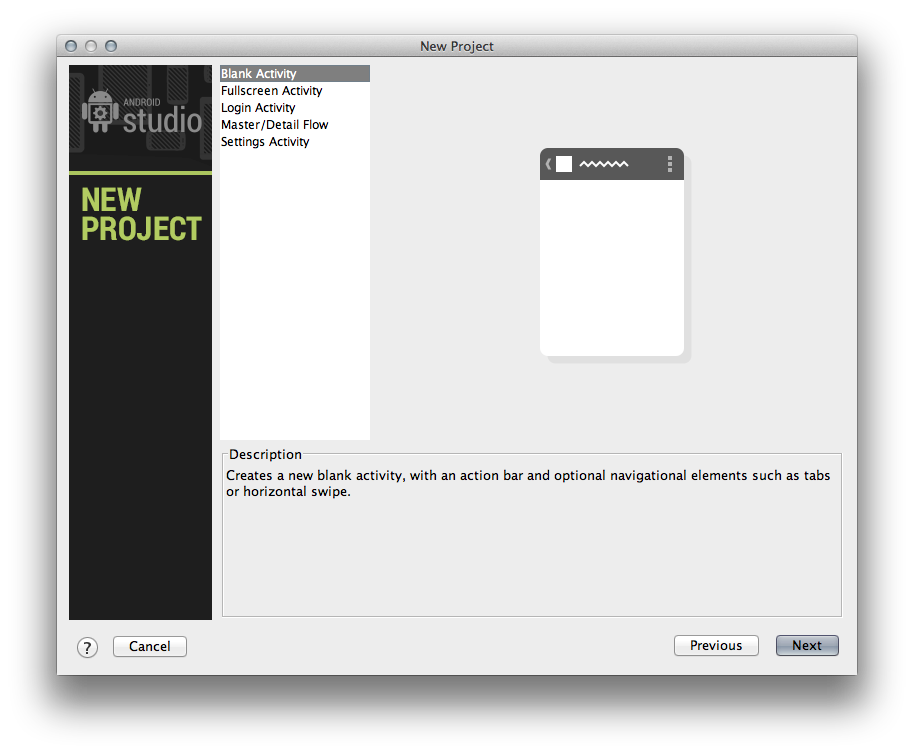
Next, I chose a Blank Activity for the project. There are other templates for routine tasks.
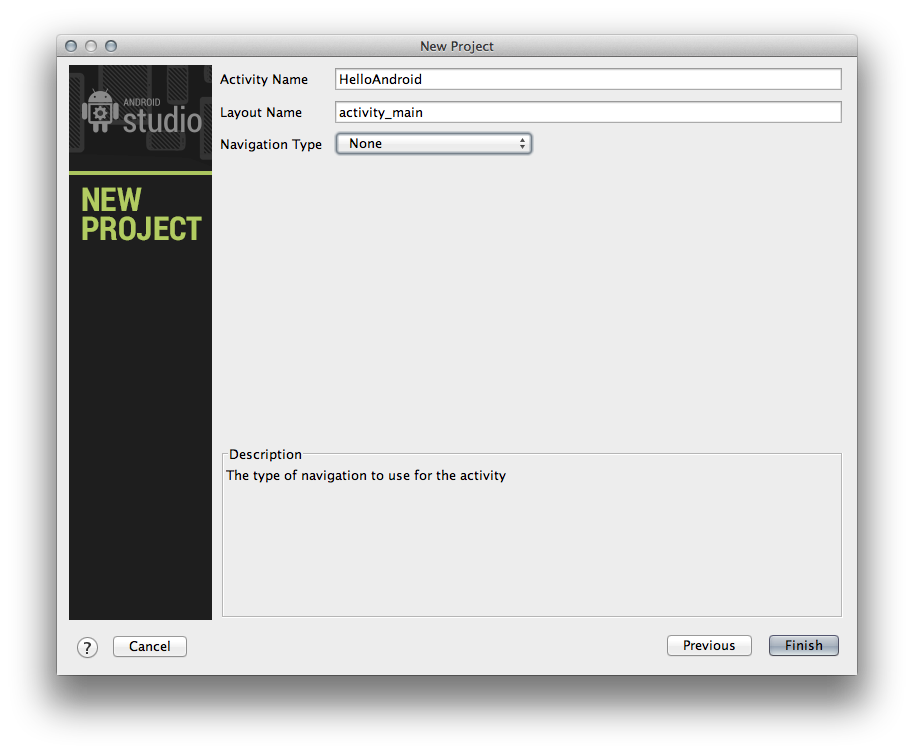
Finally, I set the names for the Activity, the Layout, and the Navigation type. These values were filled in for me. The Activity Name represents the name of the Java file - so you'll want to use Java naming conventions. The Layout Name does the same for the XML file that specifies the UI for the app.
After clicking Finish, I was presented with the main workspace for Android Studio. It wasn't all that different from other IDEs I've used. After all, the process for developing apps on any platform - Android included - is to assemble a UI, write some code to handle user events, build, and test your code. Android Studio does a good job with those development basics.
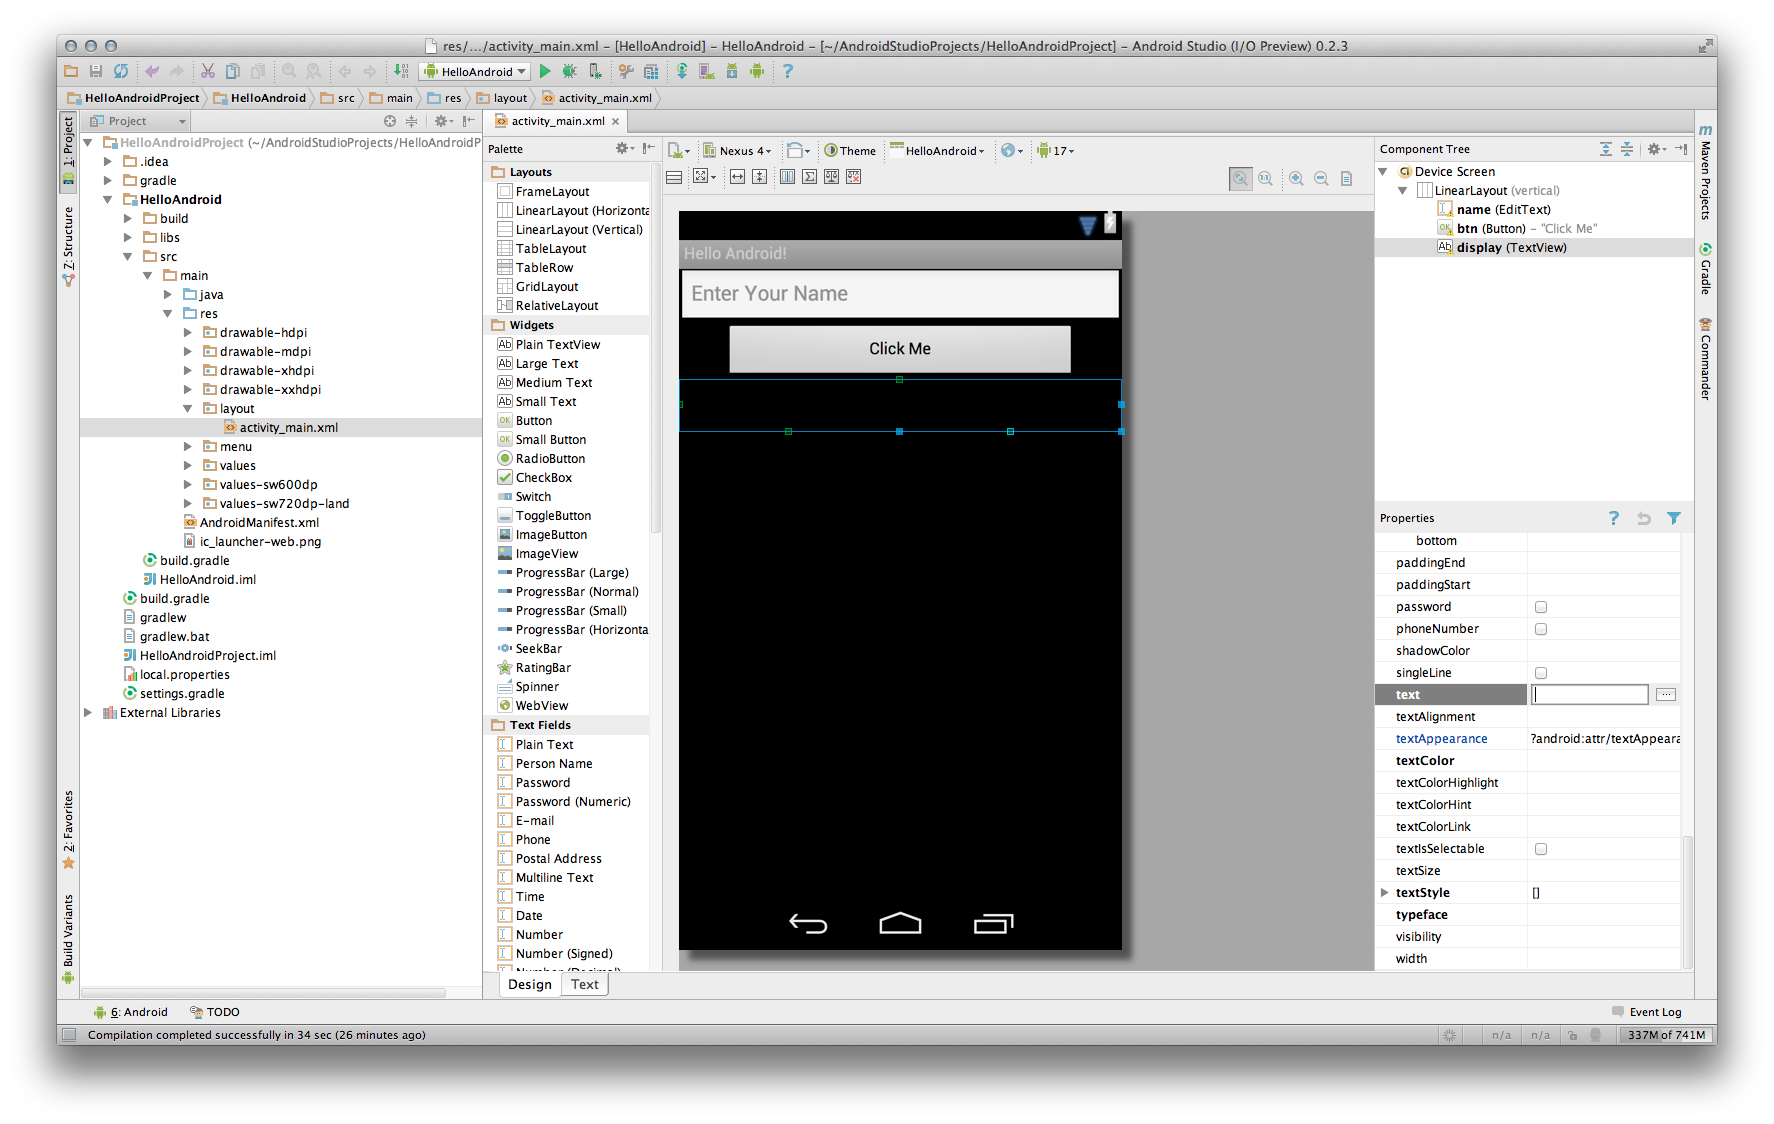
Click on the Project tab in the top left corner and then expand the HelloAndroid project node until you find the activity_main.xml file. Here is where you design your UI. You can drag and drop objects from the Palette onto your screen, resize them, and set their properties. This is all pretty intuitive and closely resembles most other form designers. I first replaced the RelativeLayout with a vertical LinearLayout, then dropped an EditText, a Button, and a Large TextView onto the screen. I set the EditText field's id to @+id/name, capitalize to Words, and Hint to Enter Your Name. I set The Button's id to @+id/btn, Text to Click Me, and left and right margins to 40. I set the TextView's id to @+id/display, padding to 30, and Text to nothing. The result is below.
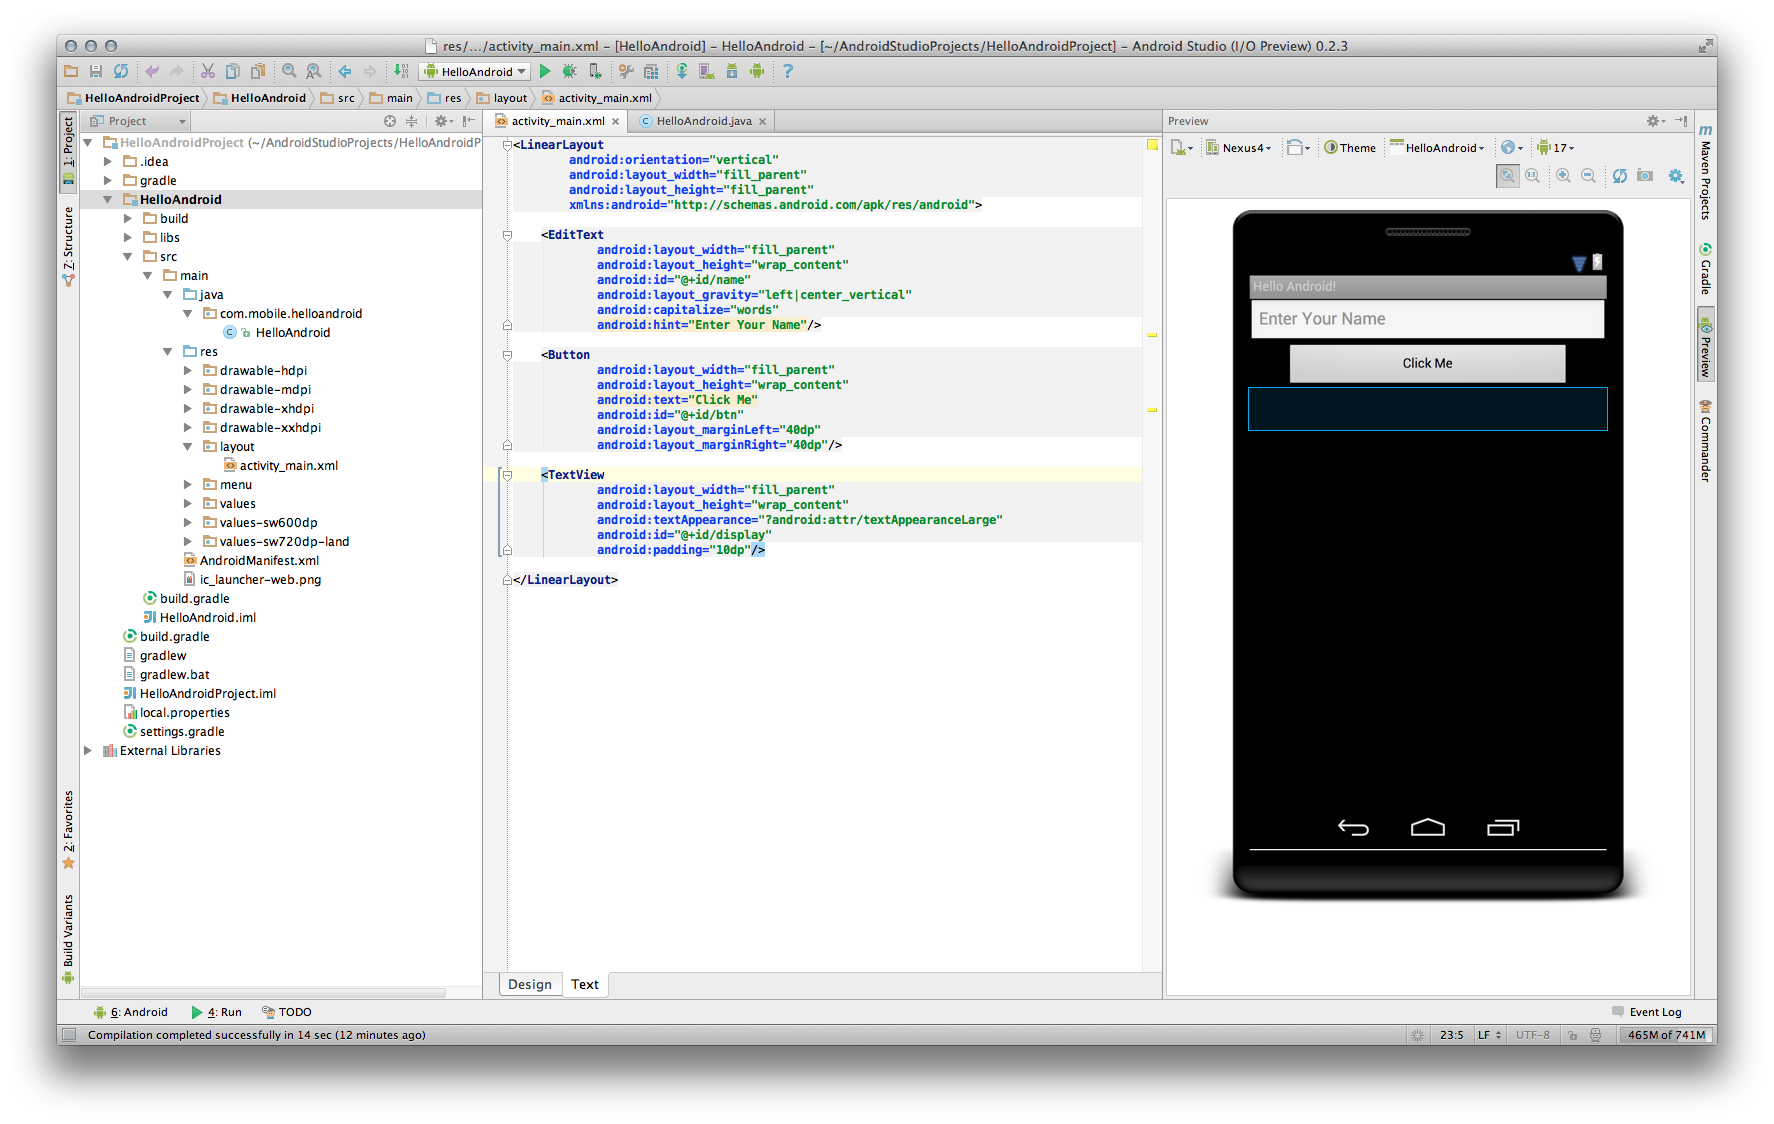
One of the cool features in Android Studio is the ability to preview your UI right in the form designer. Click on the Text tab at the bottom of the form designer. This brings up the raw XML for you to edit as well as a preview pane where you can see what your layout will look like on a variety of devices.
Double click the HelloAndroid.java file to open it in the editor. The Java editor was competent, but not spectacular. I found myself simply typing the code rather than hunting around for all of the shortcuts for implementing routine tasks. I suppose further investigation is warranted - especially if Google decides this will be the IDE of choice!
The development process is unchanged. Setup instance variables for the components, inflate the UI from the layout file. Then, implement the OnClickListener interface and register it with the Button. The code for this is shown beginning at Step 14 on page 119 in the book. Just be careful that you inflate the UI based on the id attributes you chose.
Here is the code that I wrote:
  package com.mobile.helloandroid;

  import android.os.Bundle;
  import android.app.Activity;
  import android.view.Menu;
  import android.view.View;
  import android.widget.*;

    public class HelloAndroid extends Activity implements View.OnClickListener {

    private EditText name;
    private Button btn;
    private TextView display;

    @Override
    protected void onCreate(Bundle savedInstanceState) {
        super.onCreate(savedInstanceState);
        setContentView(R.layout.activity_main);
        name = (EditText)findViewById(R.id.name);
        btn = (Button)findViewById(R.id.btn);
        display = (TextView)findViewById(R.id.display);
        btn.setOnClickListener(this);
    }


    @Override
    public boolean onCreateOptionsMenu(Menu menu) {
        // Inflate the menu; this adds items to the action bar if it is present.
        getMenuInflater().inflate(R.menu.hello_android, menu);
        return true;
    }

    @Override
    public void onClick(View view) {
        if(btn==view){
            display.setText("Hello " + name.getText().toString() + "!");
        }
    }
}
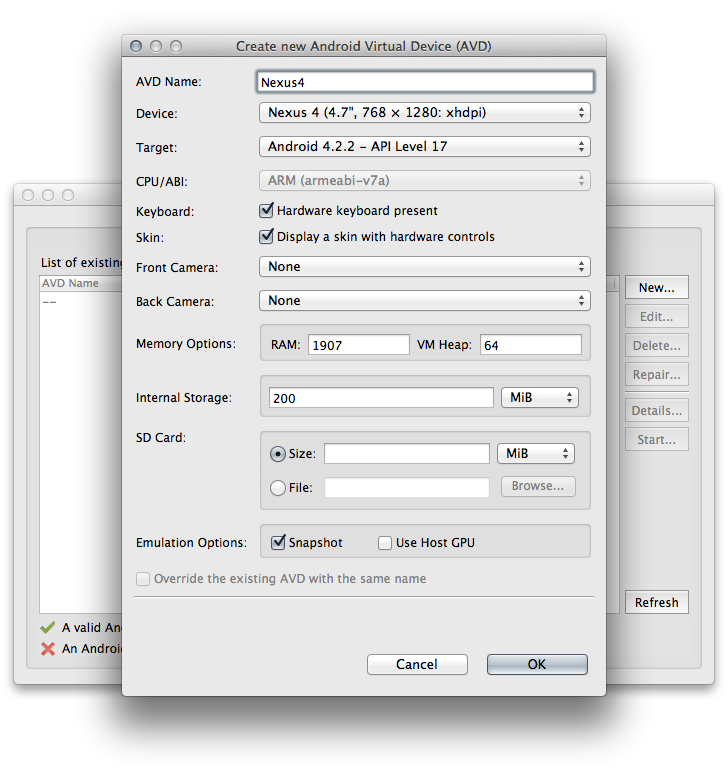
Before you can run your code, you'll need to create an Android Virtual Device. Click on the AVD Manager icon on the toolbar to launch the AVD Manager. Click New to create a new AVD. I chose to emulate the Nexus 4 by choosing the following options:
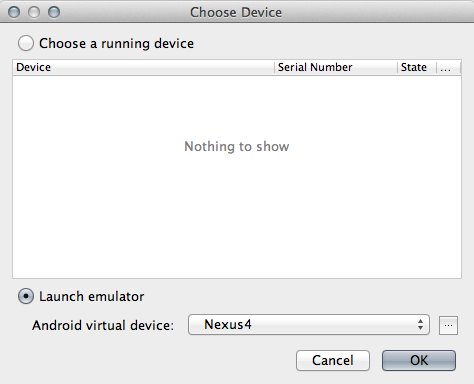
Then, click on the Run icon on the toolbar to start your project. I was presented a choice to Choose a running device (of which I had none) or to Launch an emulator. For obvious reasons, I chose to Launch my newly created Nexus4 device.
Typing in my name and clicking the button produced the expected results.

I found Android Studio to be remarkably full-featured for a pre-release edition. I'm hoping that Google adds in all the goodies to make Studio my IDE of choice for Android development.