Current Version: 2.2
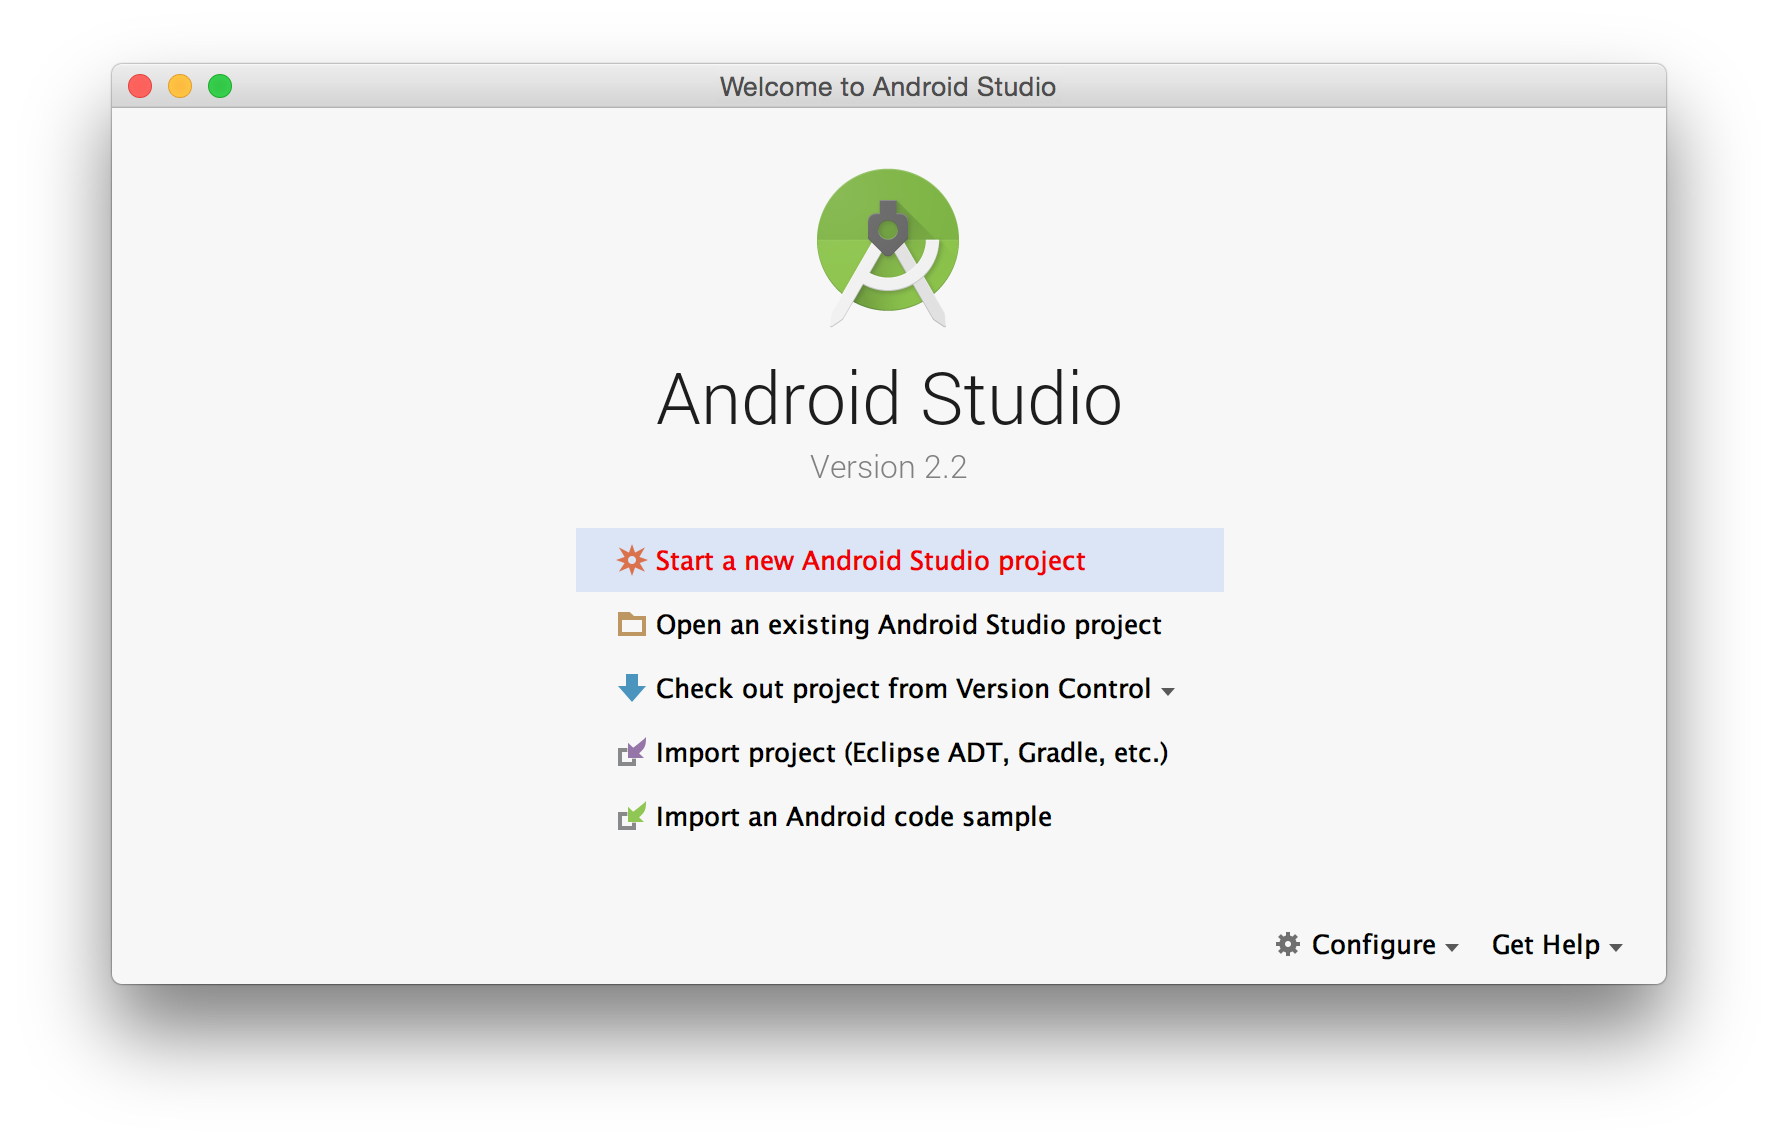
1. Start Android Studio. Choose Start A New Android Studio Project. Click Next.
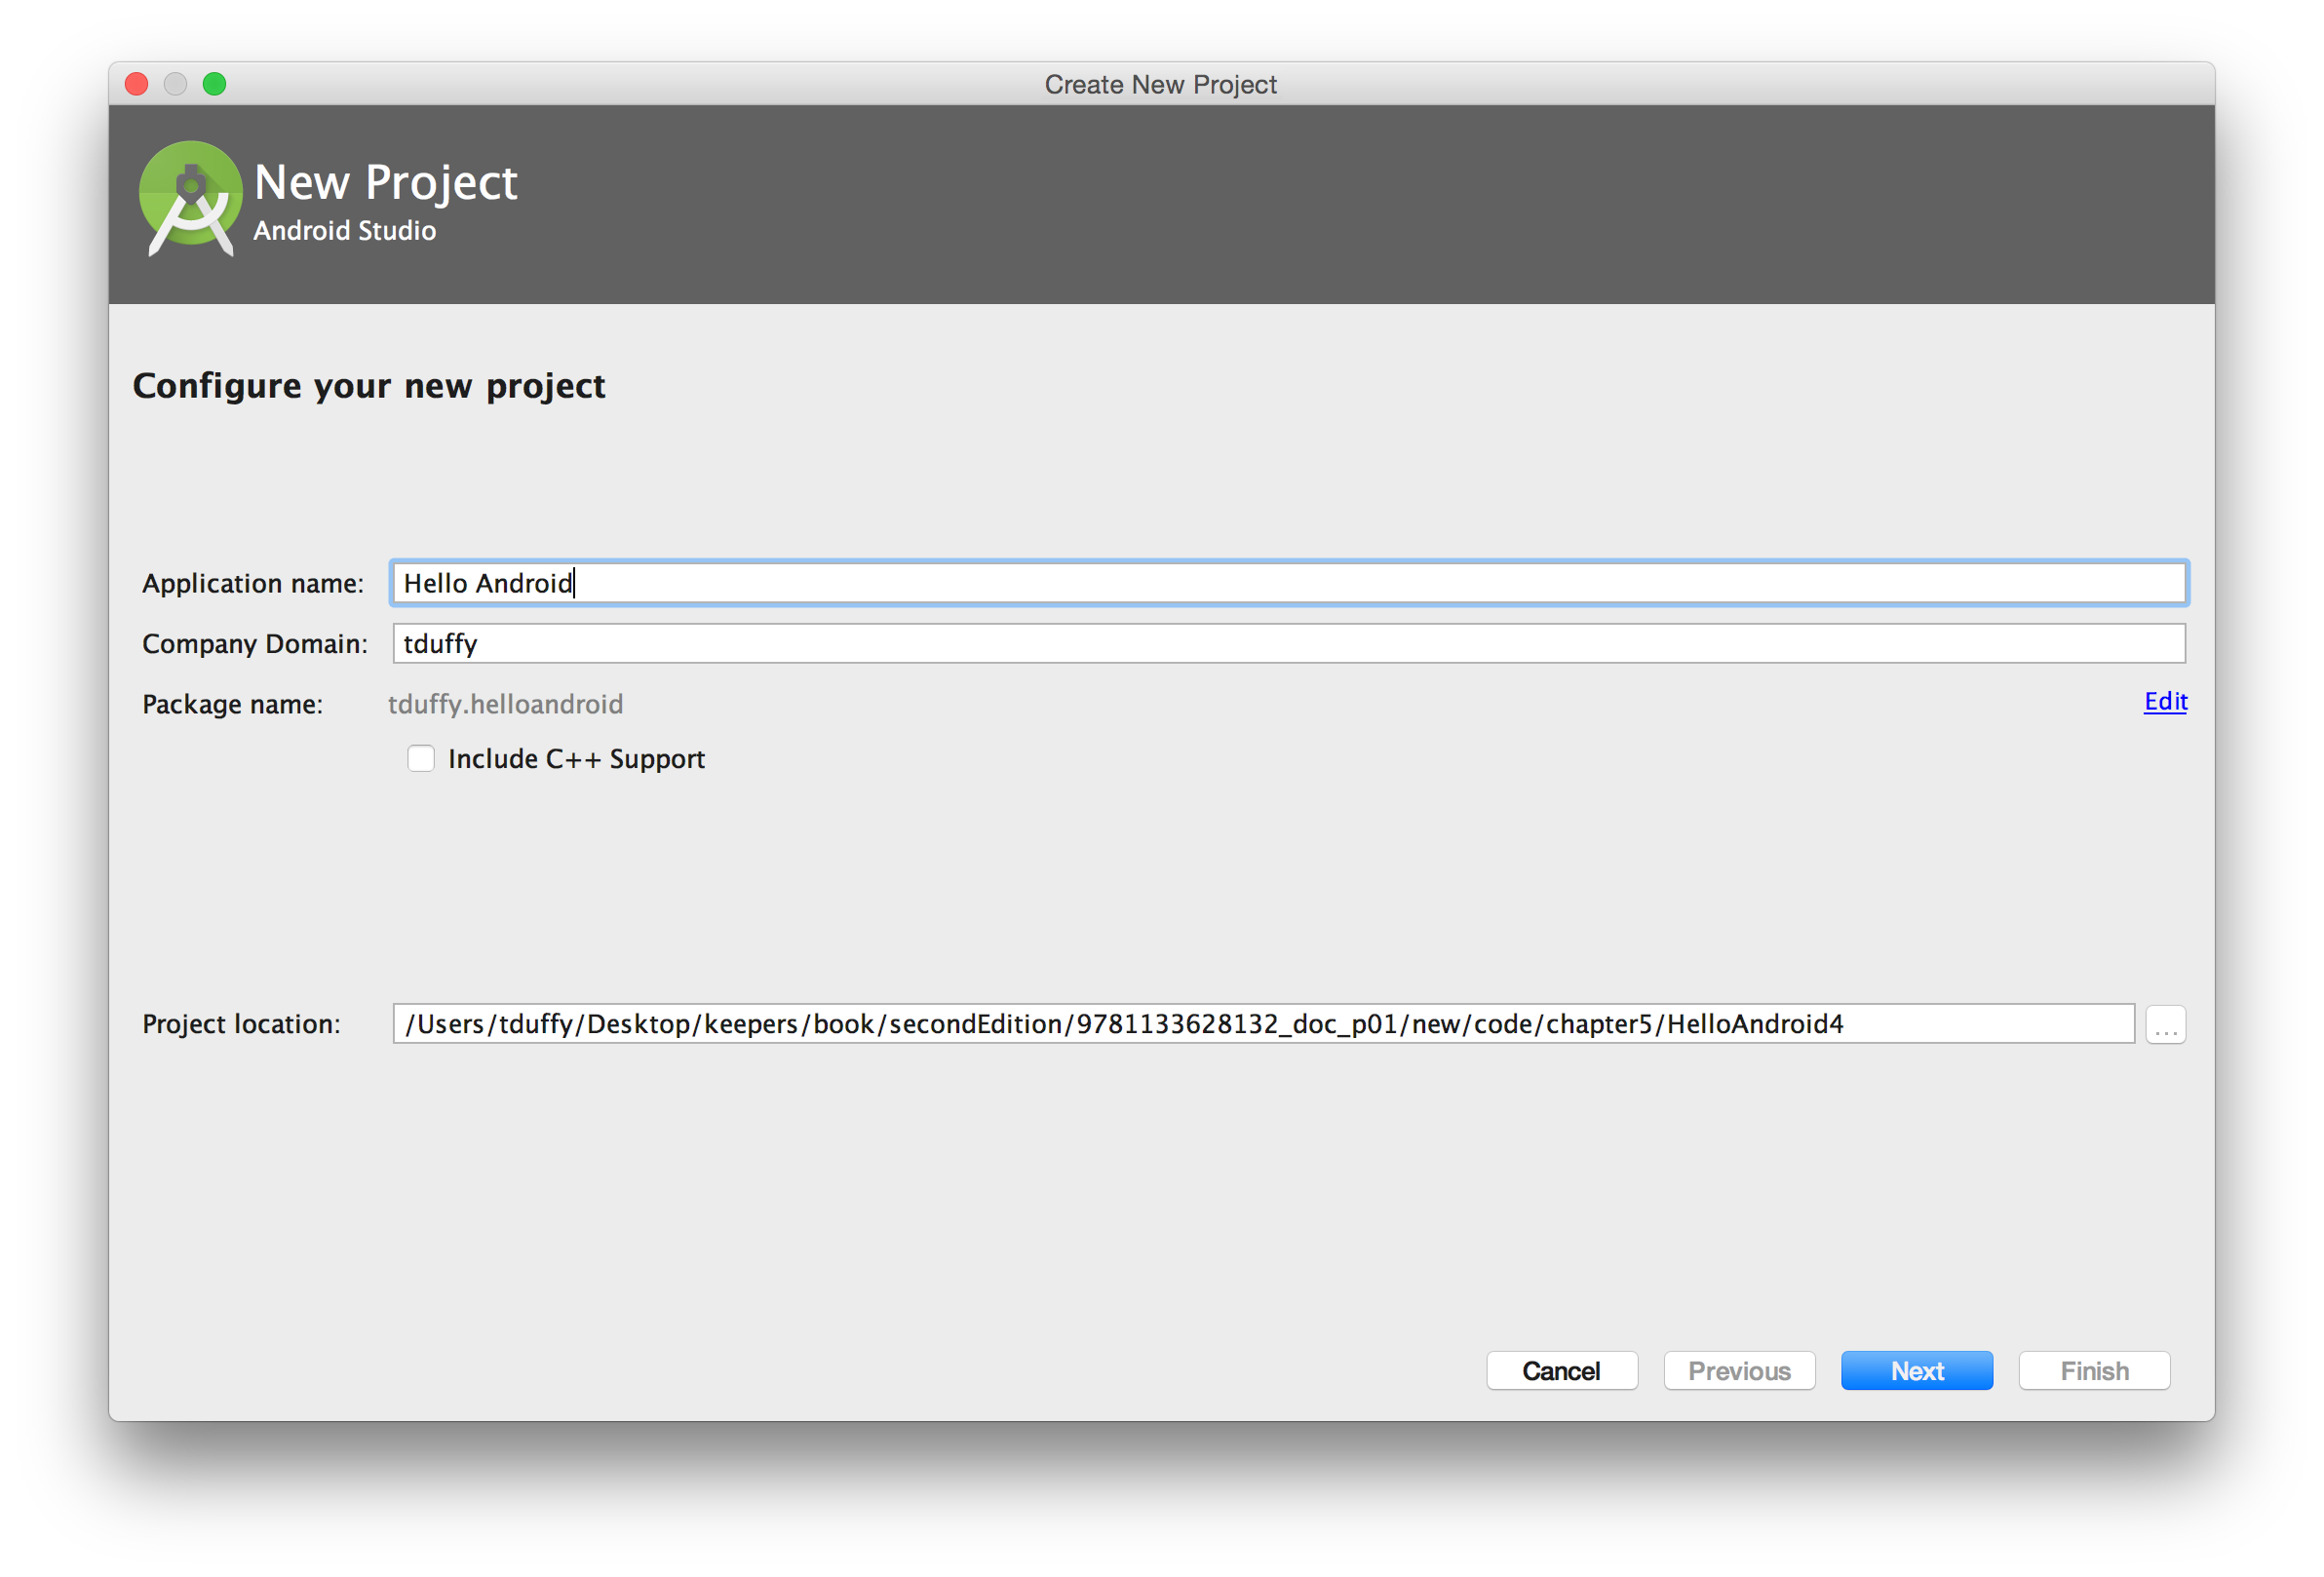
2. Give the Application a Name. Note: The name you specify will display on the Title Bar of the Application. Specify where to save the project. Click Next.
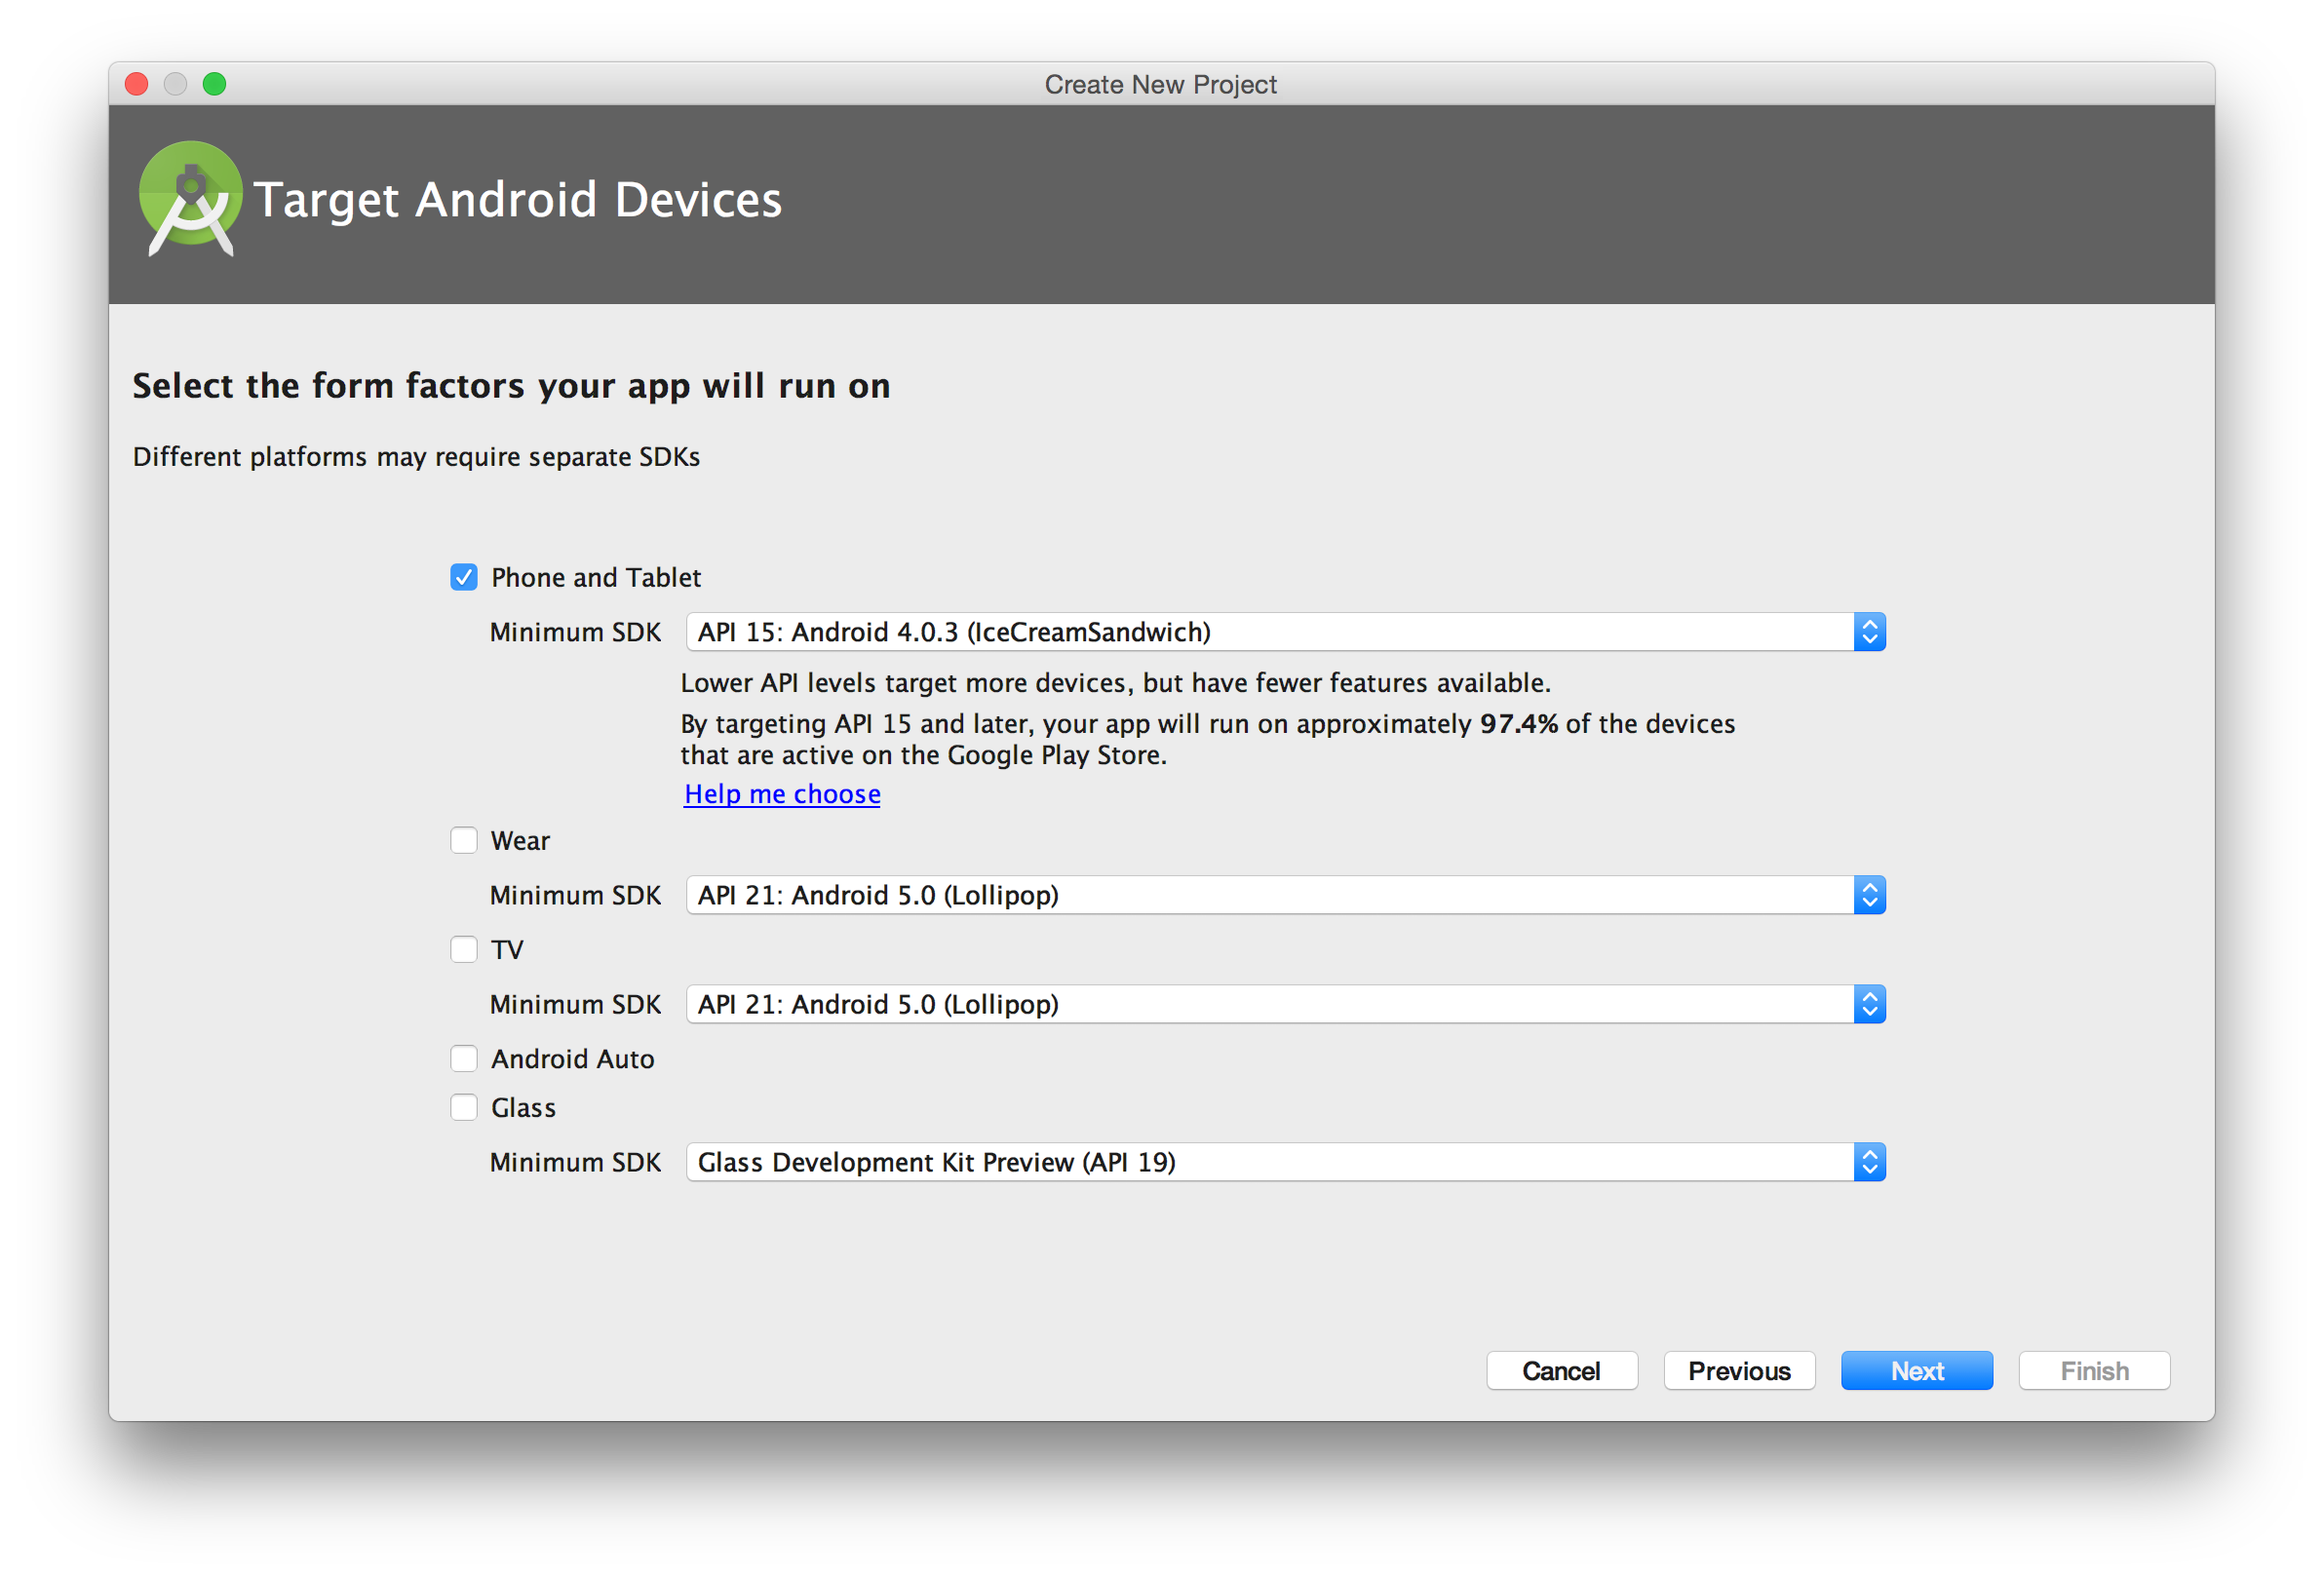
3. Choose your Target Platform. For most Mobile Apps, choose a Phone and Tablet platform targeting the lowest SDK possible to support the features of your app. This will allow as many users as possible to install your app. For Android Wear apps (Watch apps) add a Wear platform. Click Next.
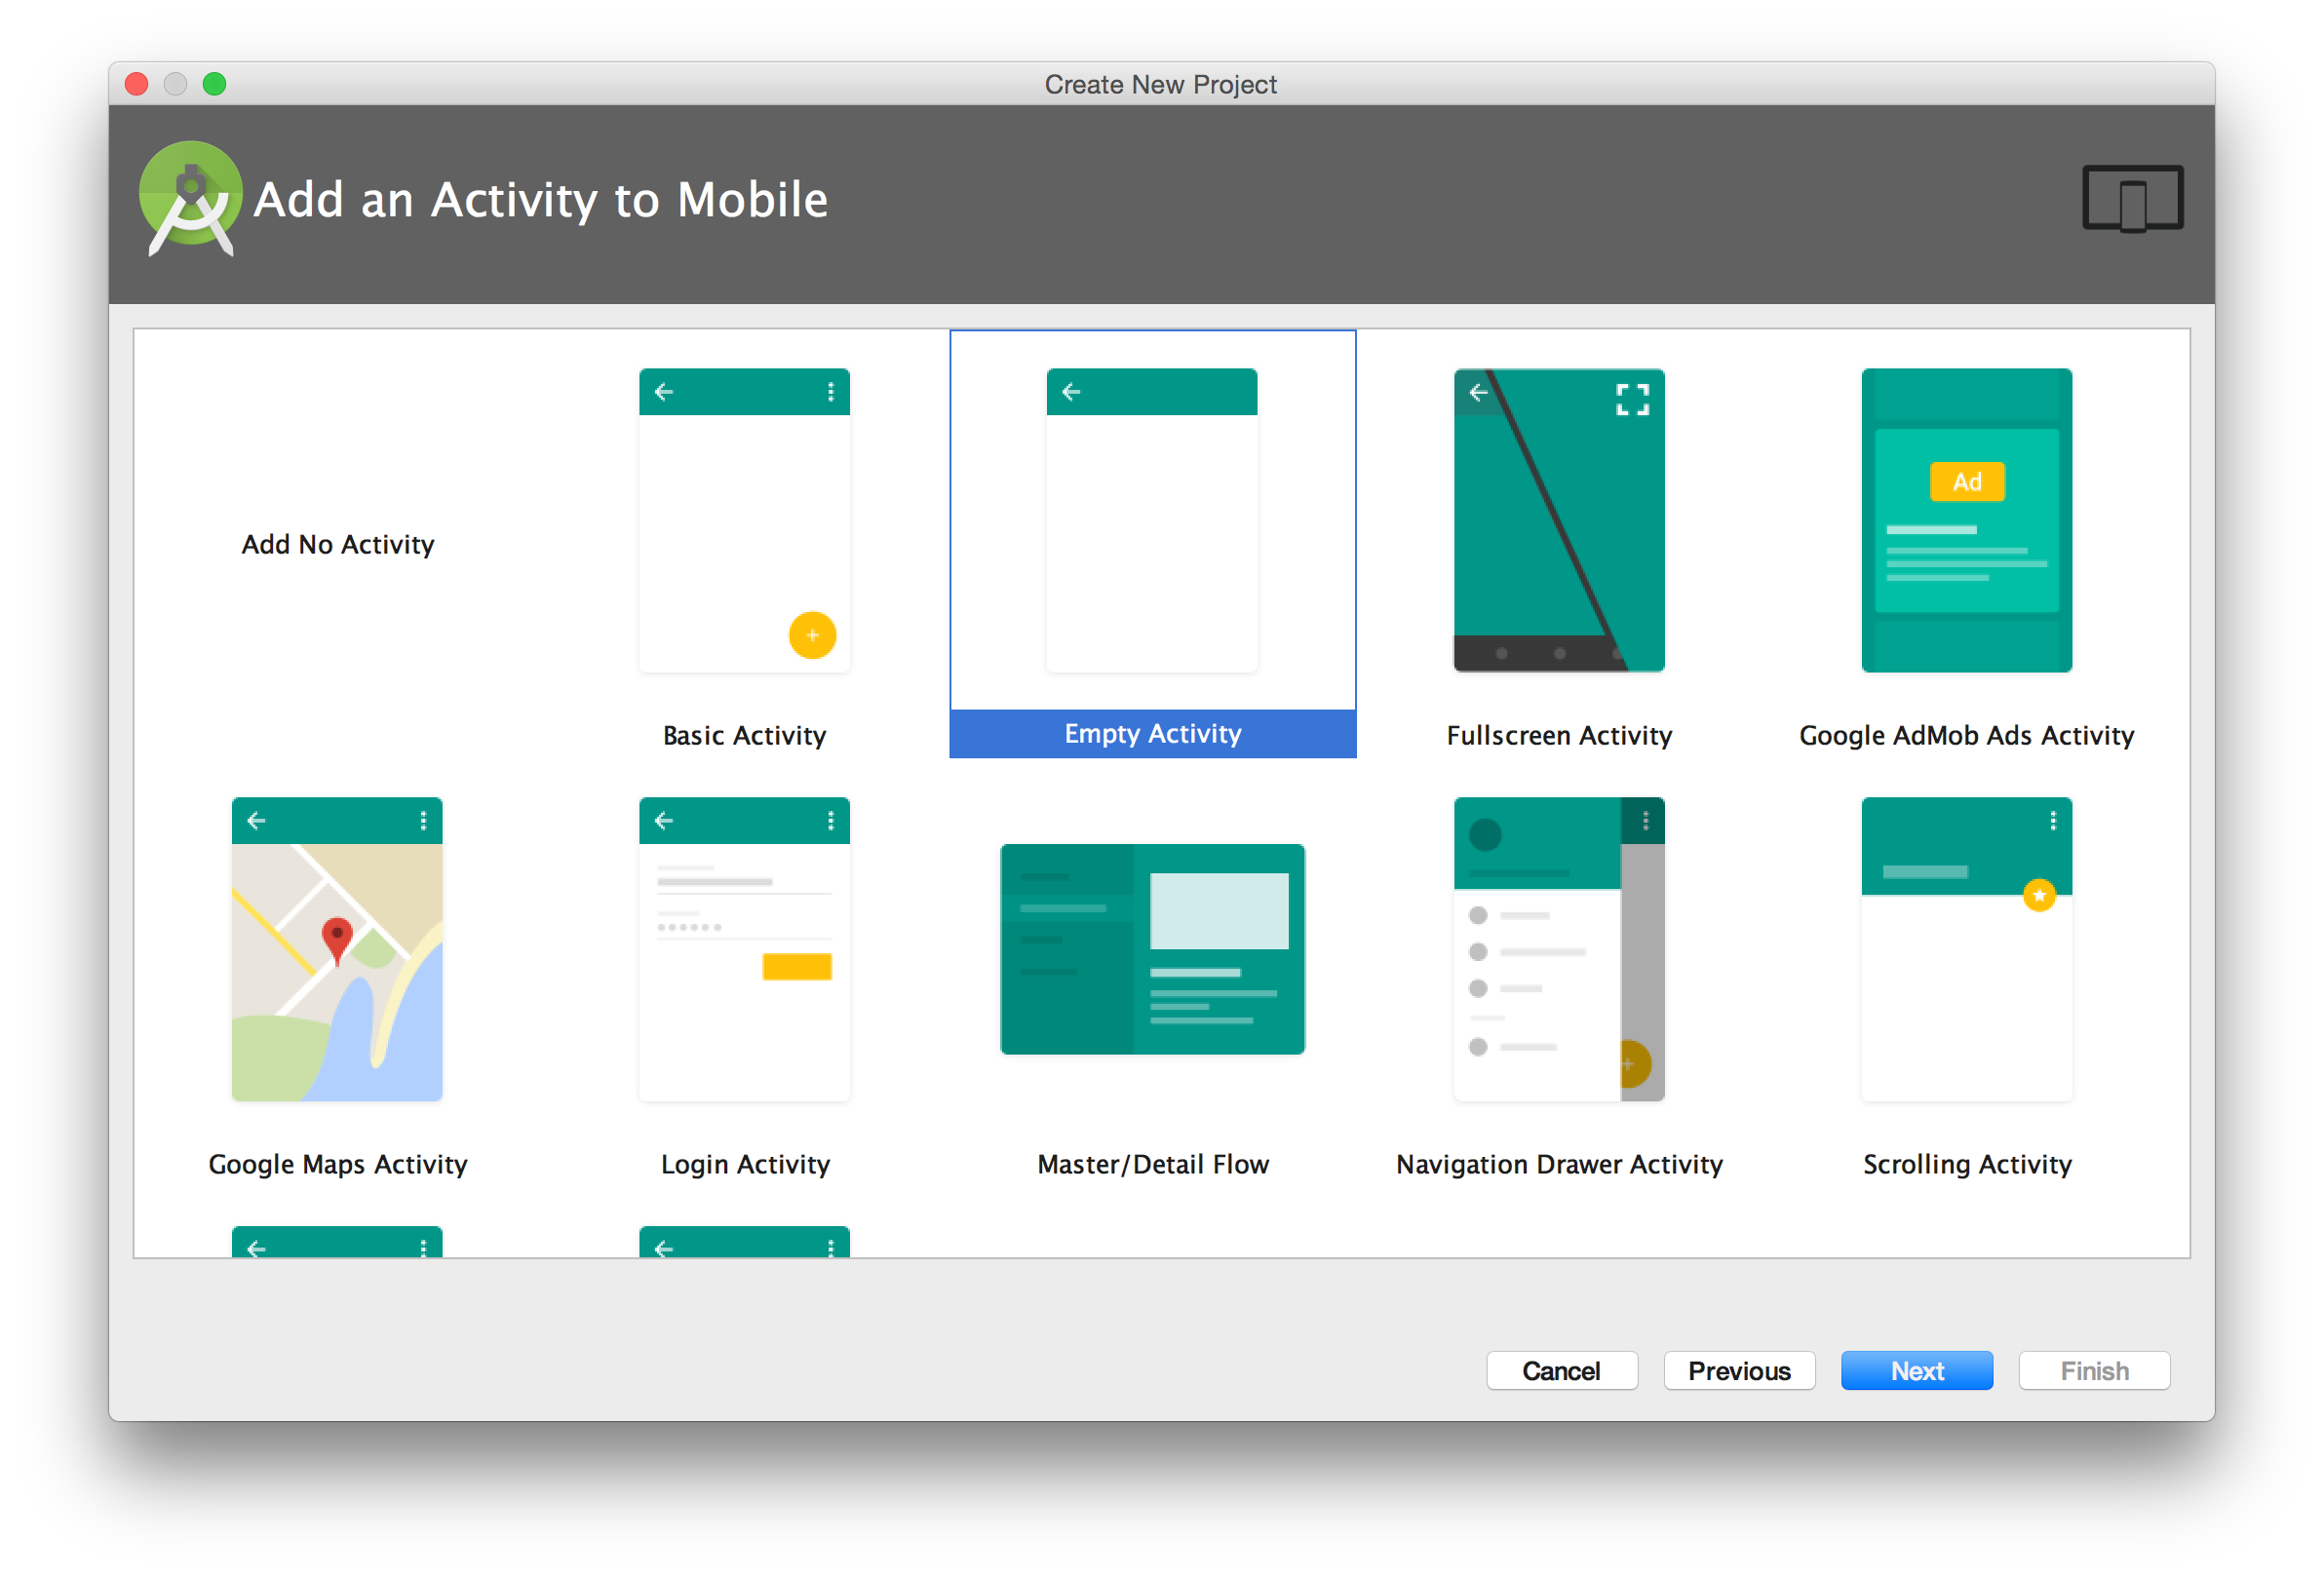
4. For most of the apps in the book, you'll add an Empty Activity to the project. Click Next.
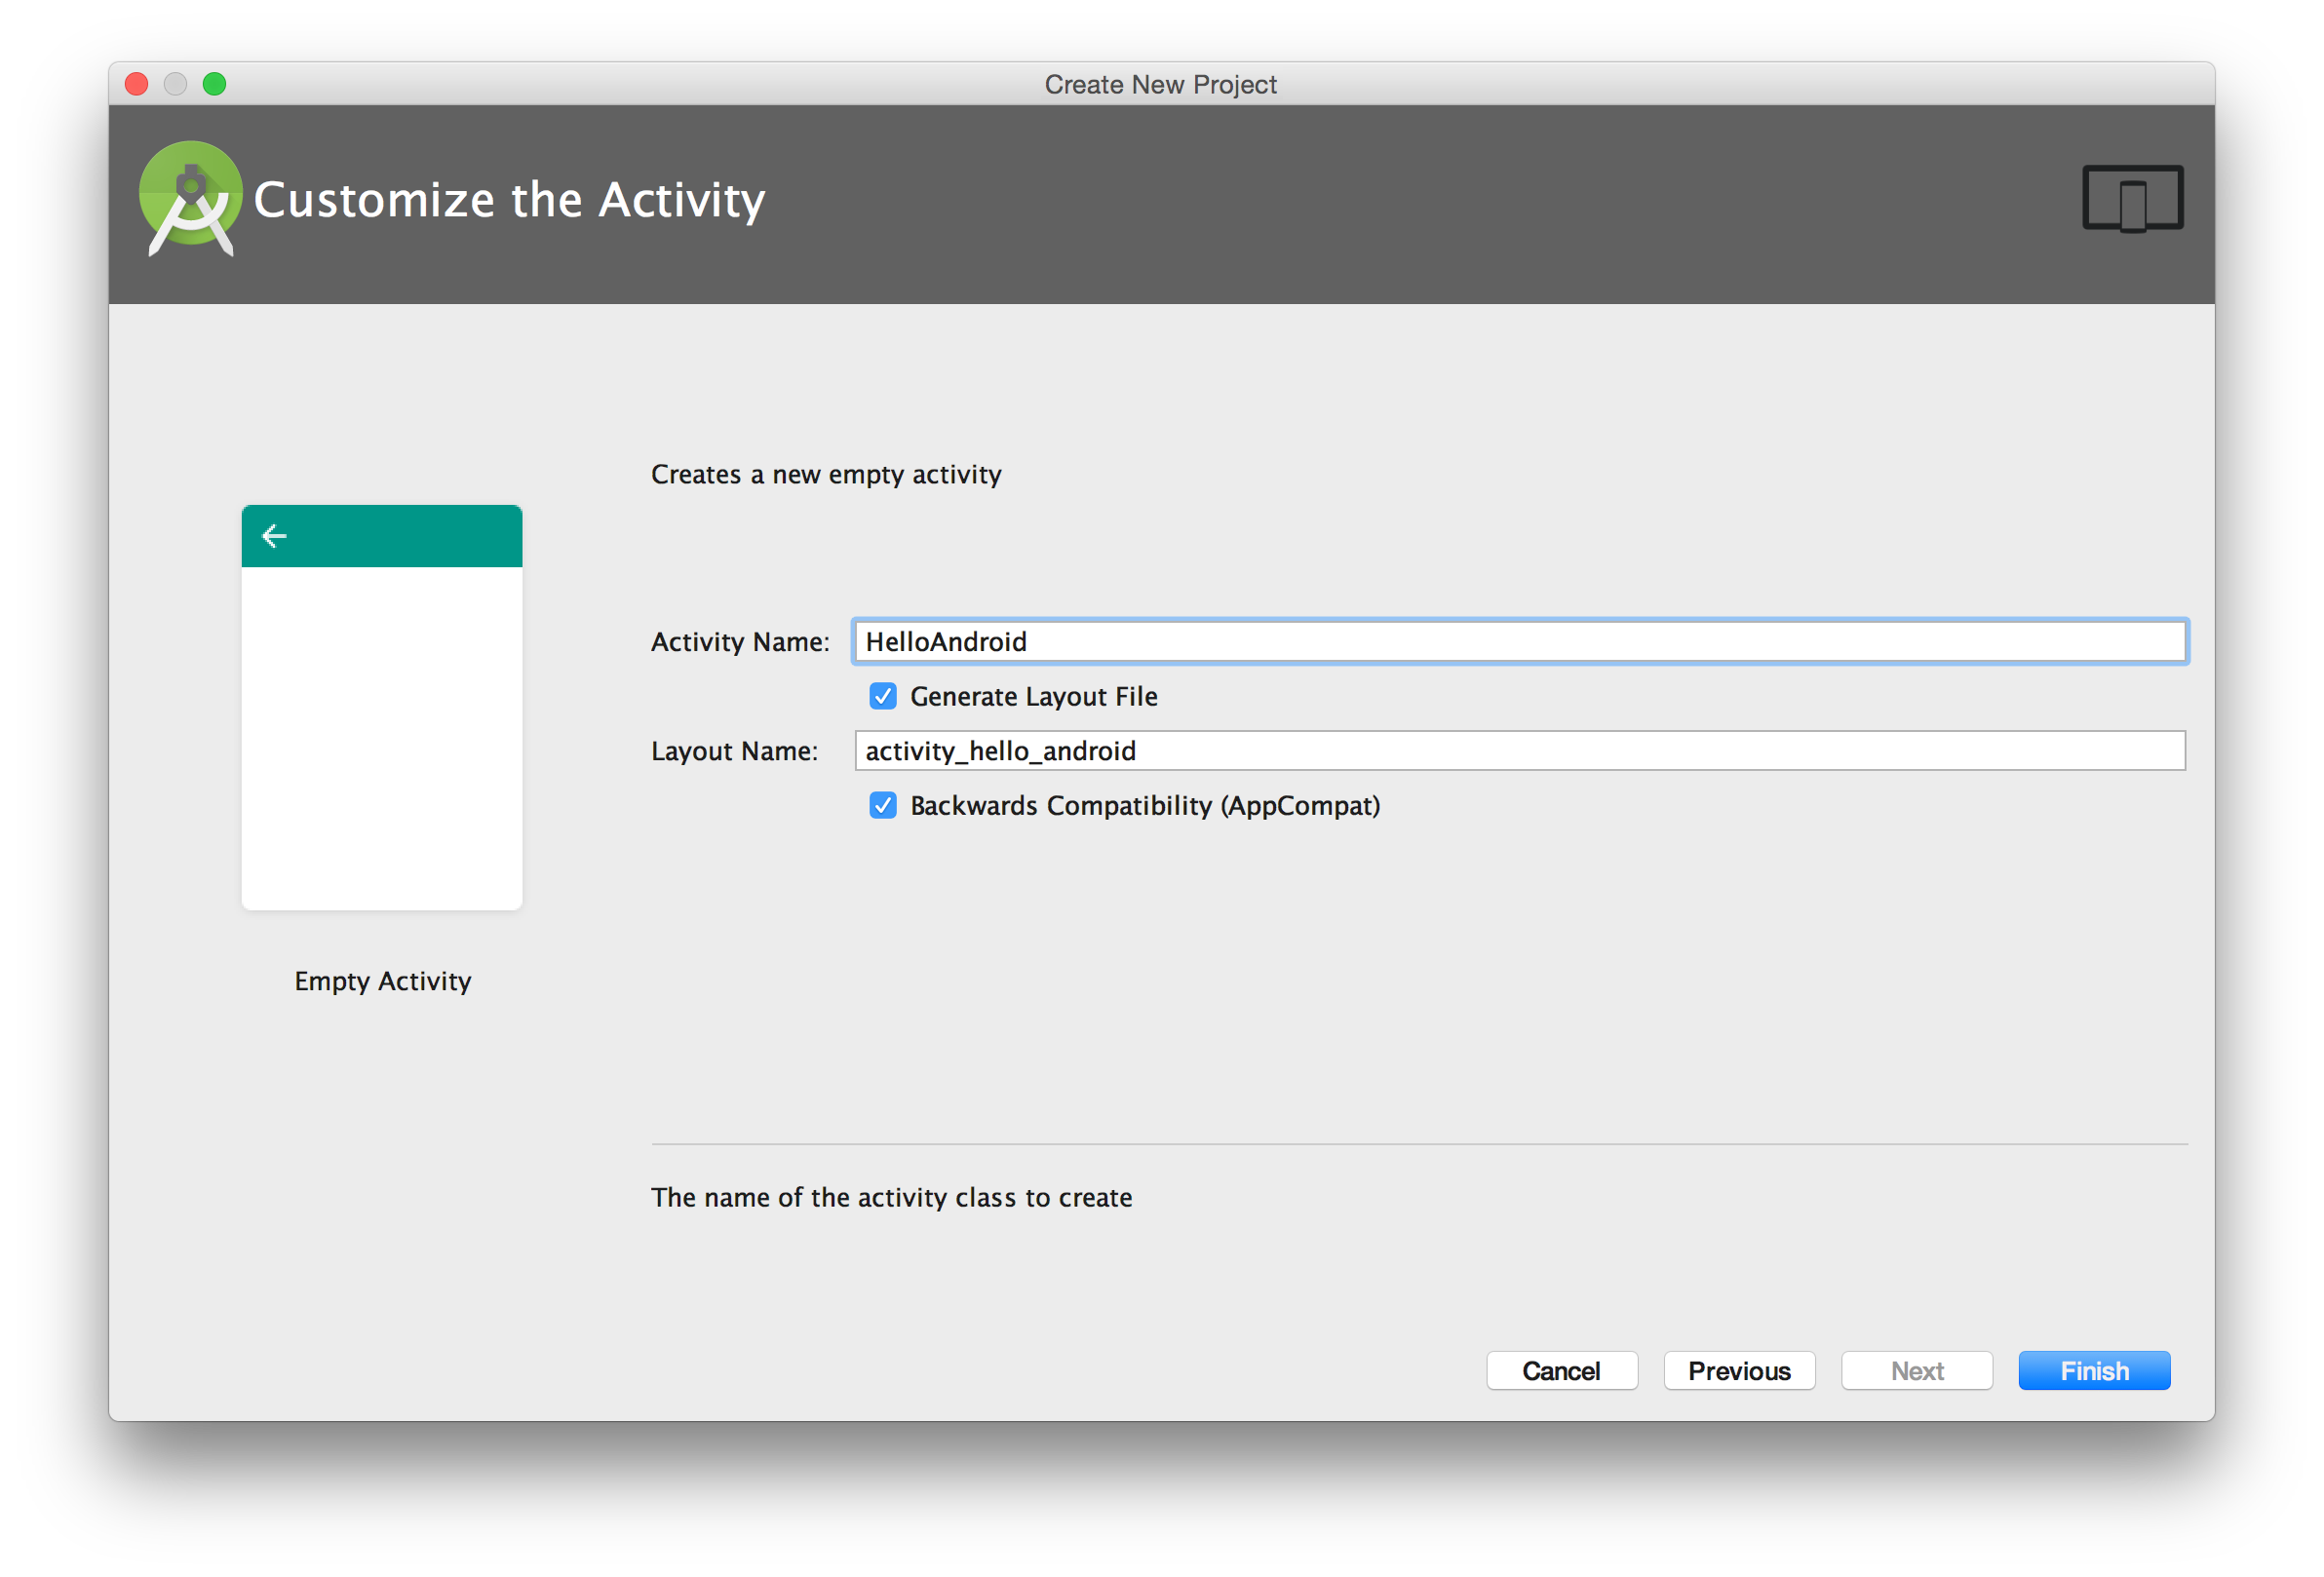
5. Give the Activity a Name. Use Java Naming Conventions for the name. Optionally, change the name of the Layout file. Check the Backwards Compatibility check box if you are supporting older platforms. Click Finish.
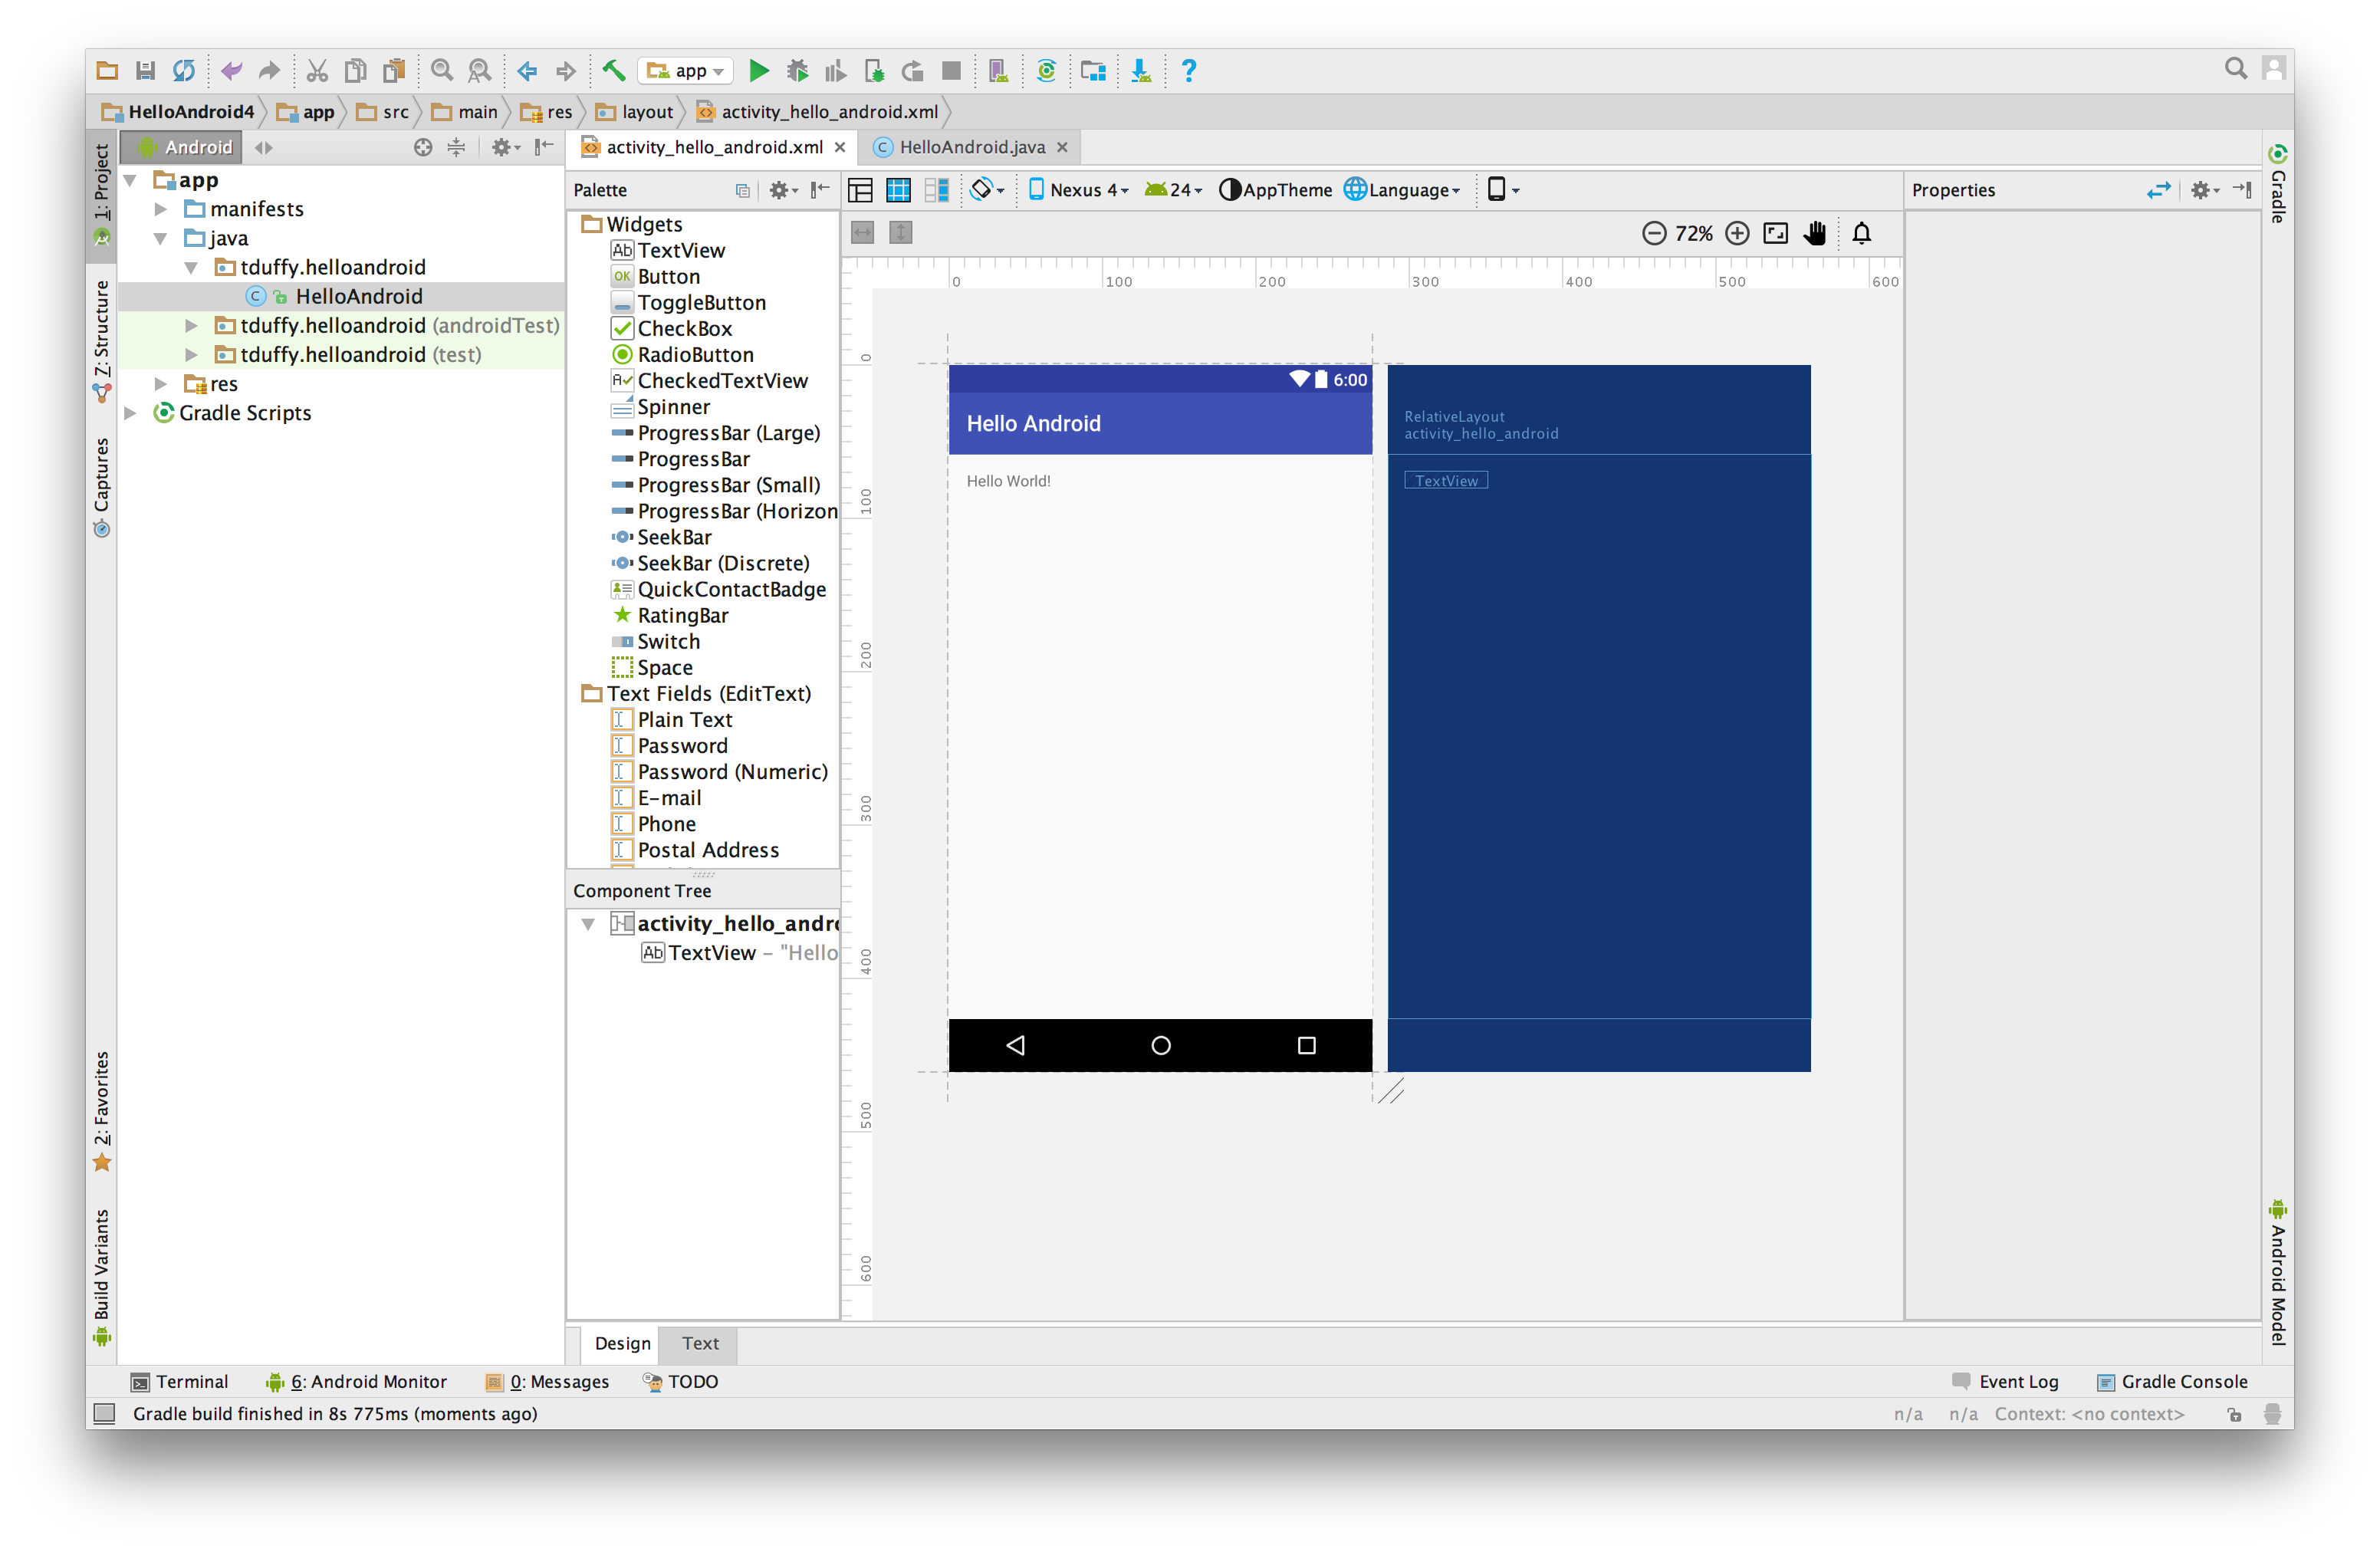
6. Android Studio will build the project and open the Java and Layout files in the editor. Click on the Layout file to design the user interface. Click on the Java file to write the code for the app. The Layout Editor includes a Palette of available components which you can drag and drop into the app. It also includes a Properties Window that reflects the properties of the selected component in the app. Note: in the image below, there is no component selected so the Properties Window is empty.
7. Before you can test your app, you must create an Android Virtual Device (AVD). From the Tools menu, choose Android > AVD Manager. Click on Create Virtual Device...
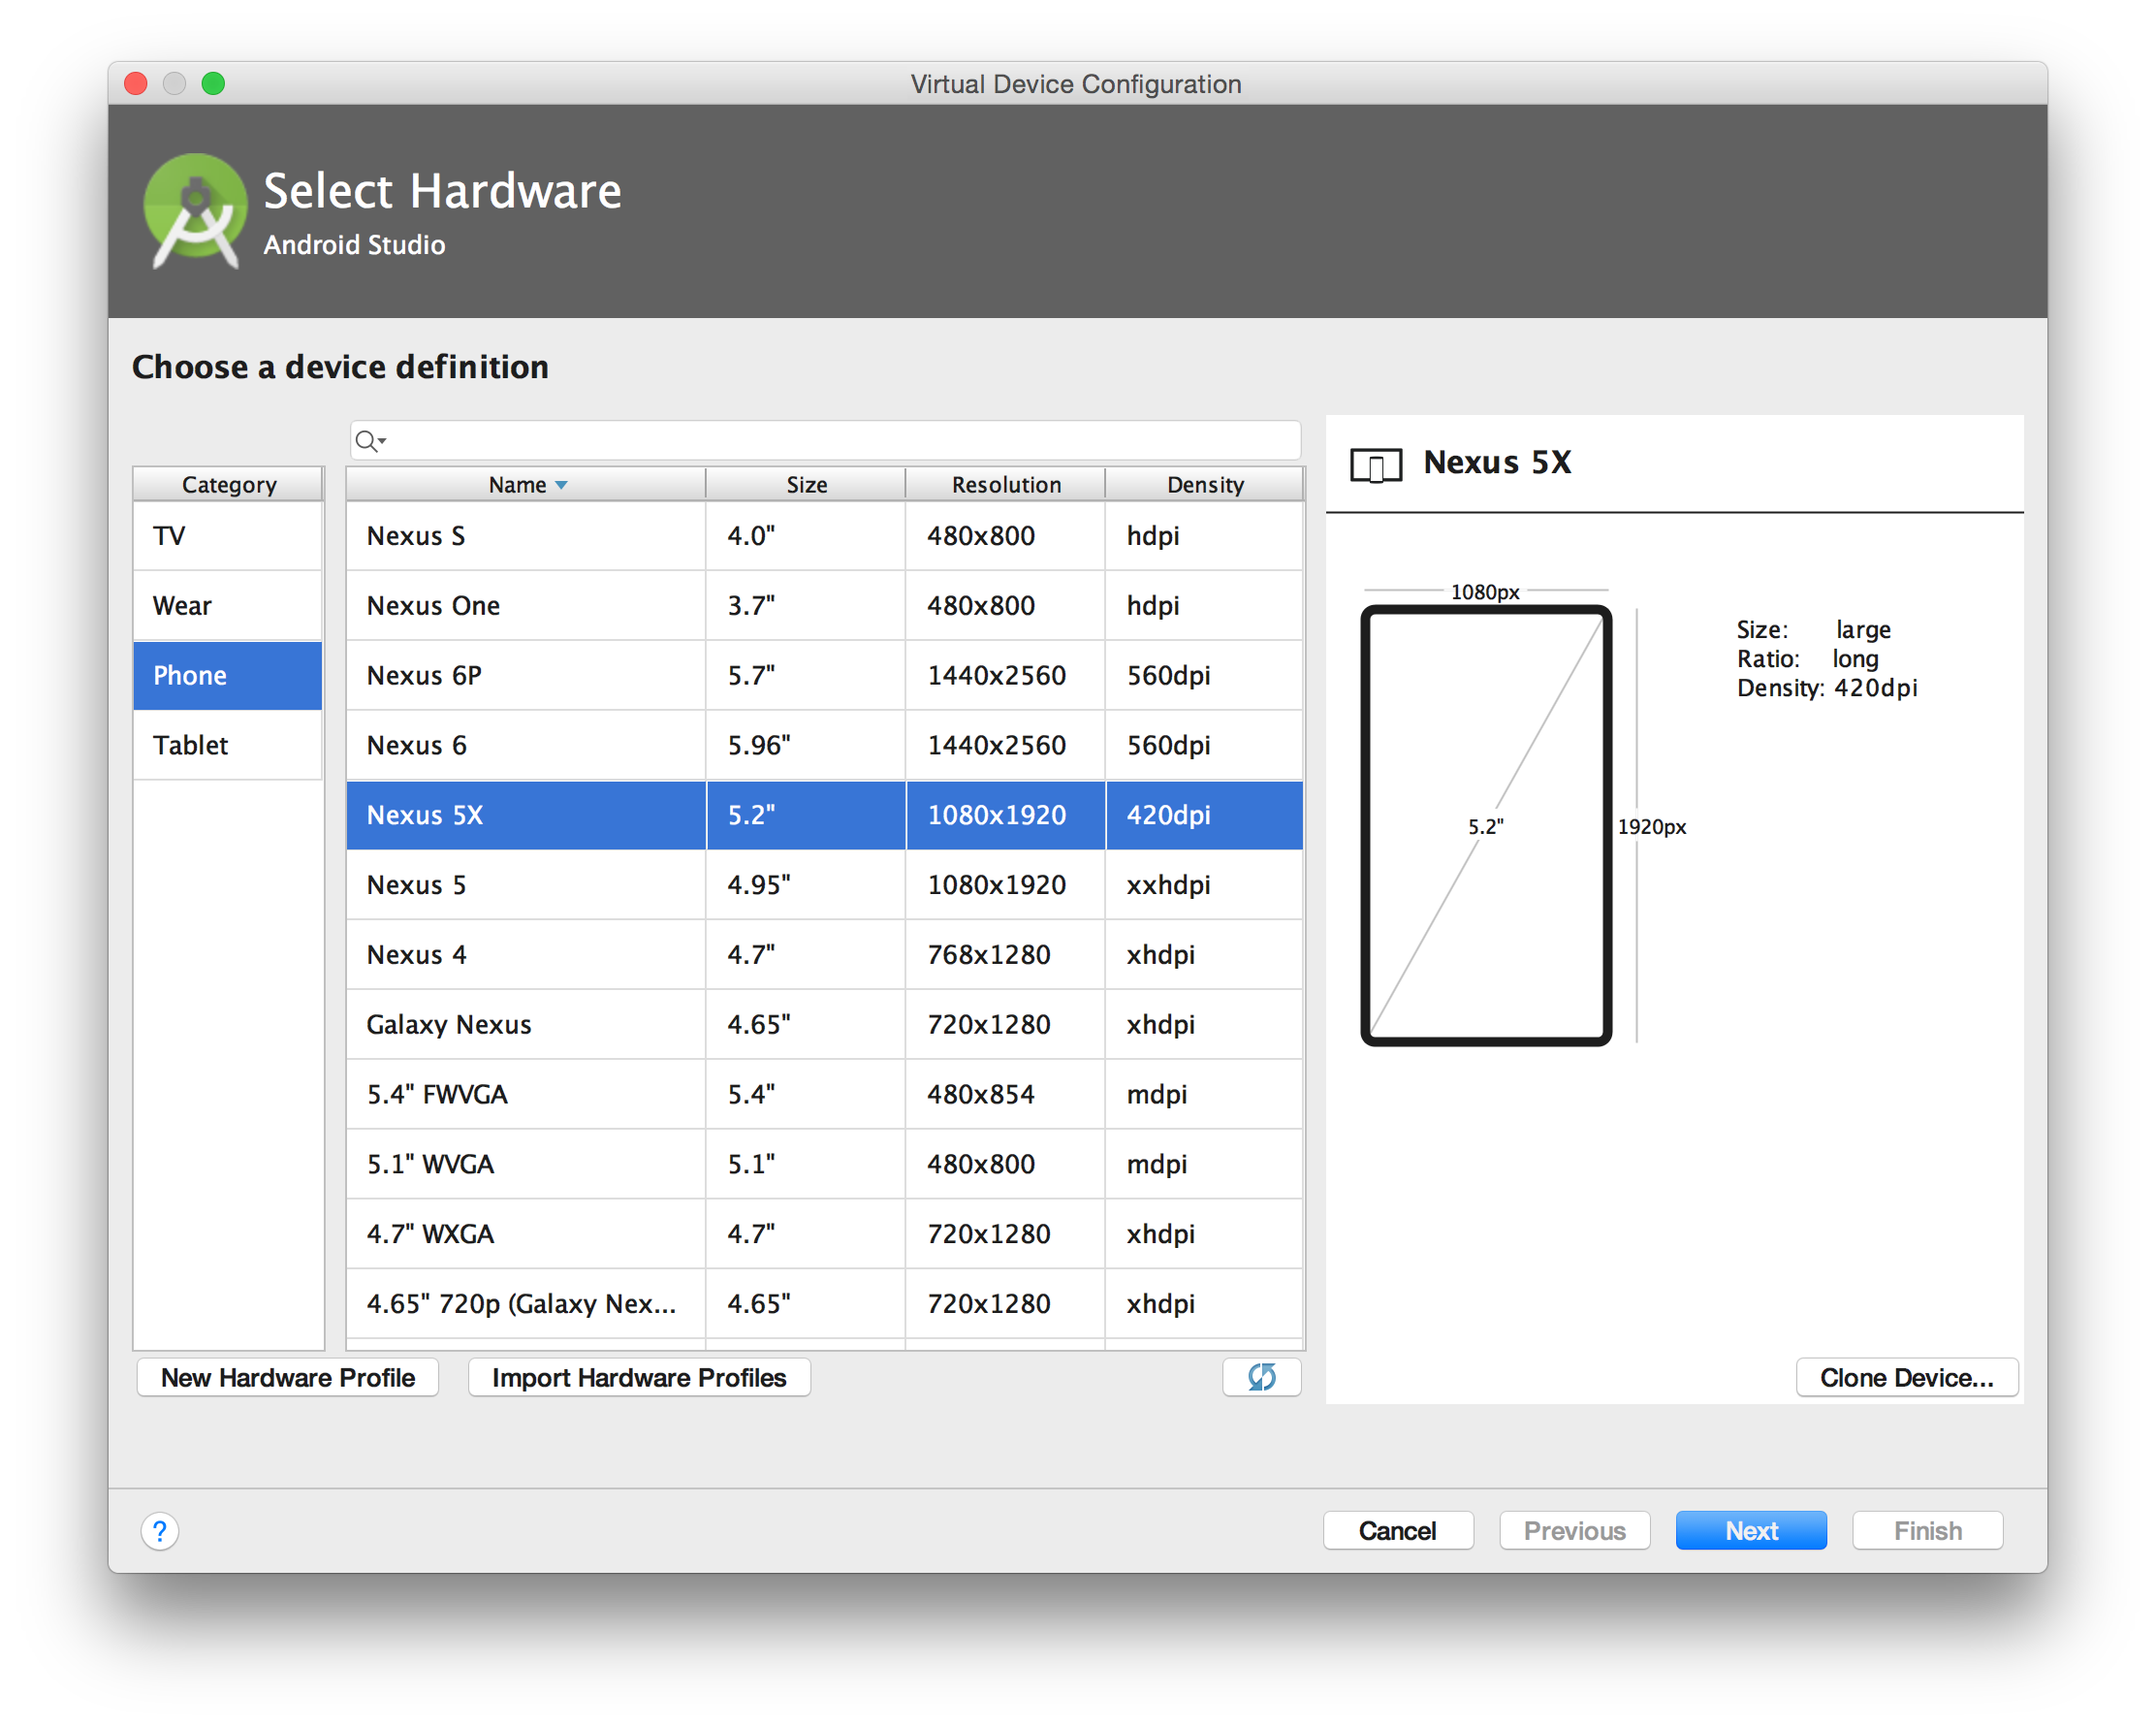
8. Select the Hardware for your AVD. You may choose one of the existing device definitions or create your own. Click Next.
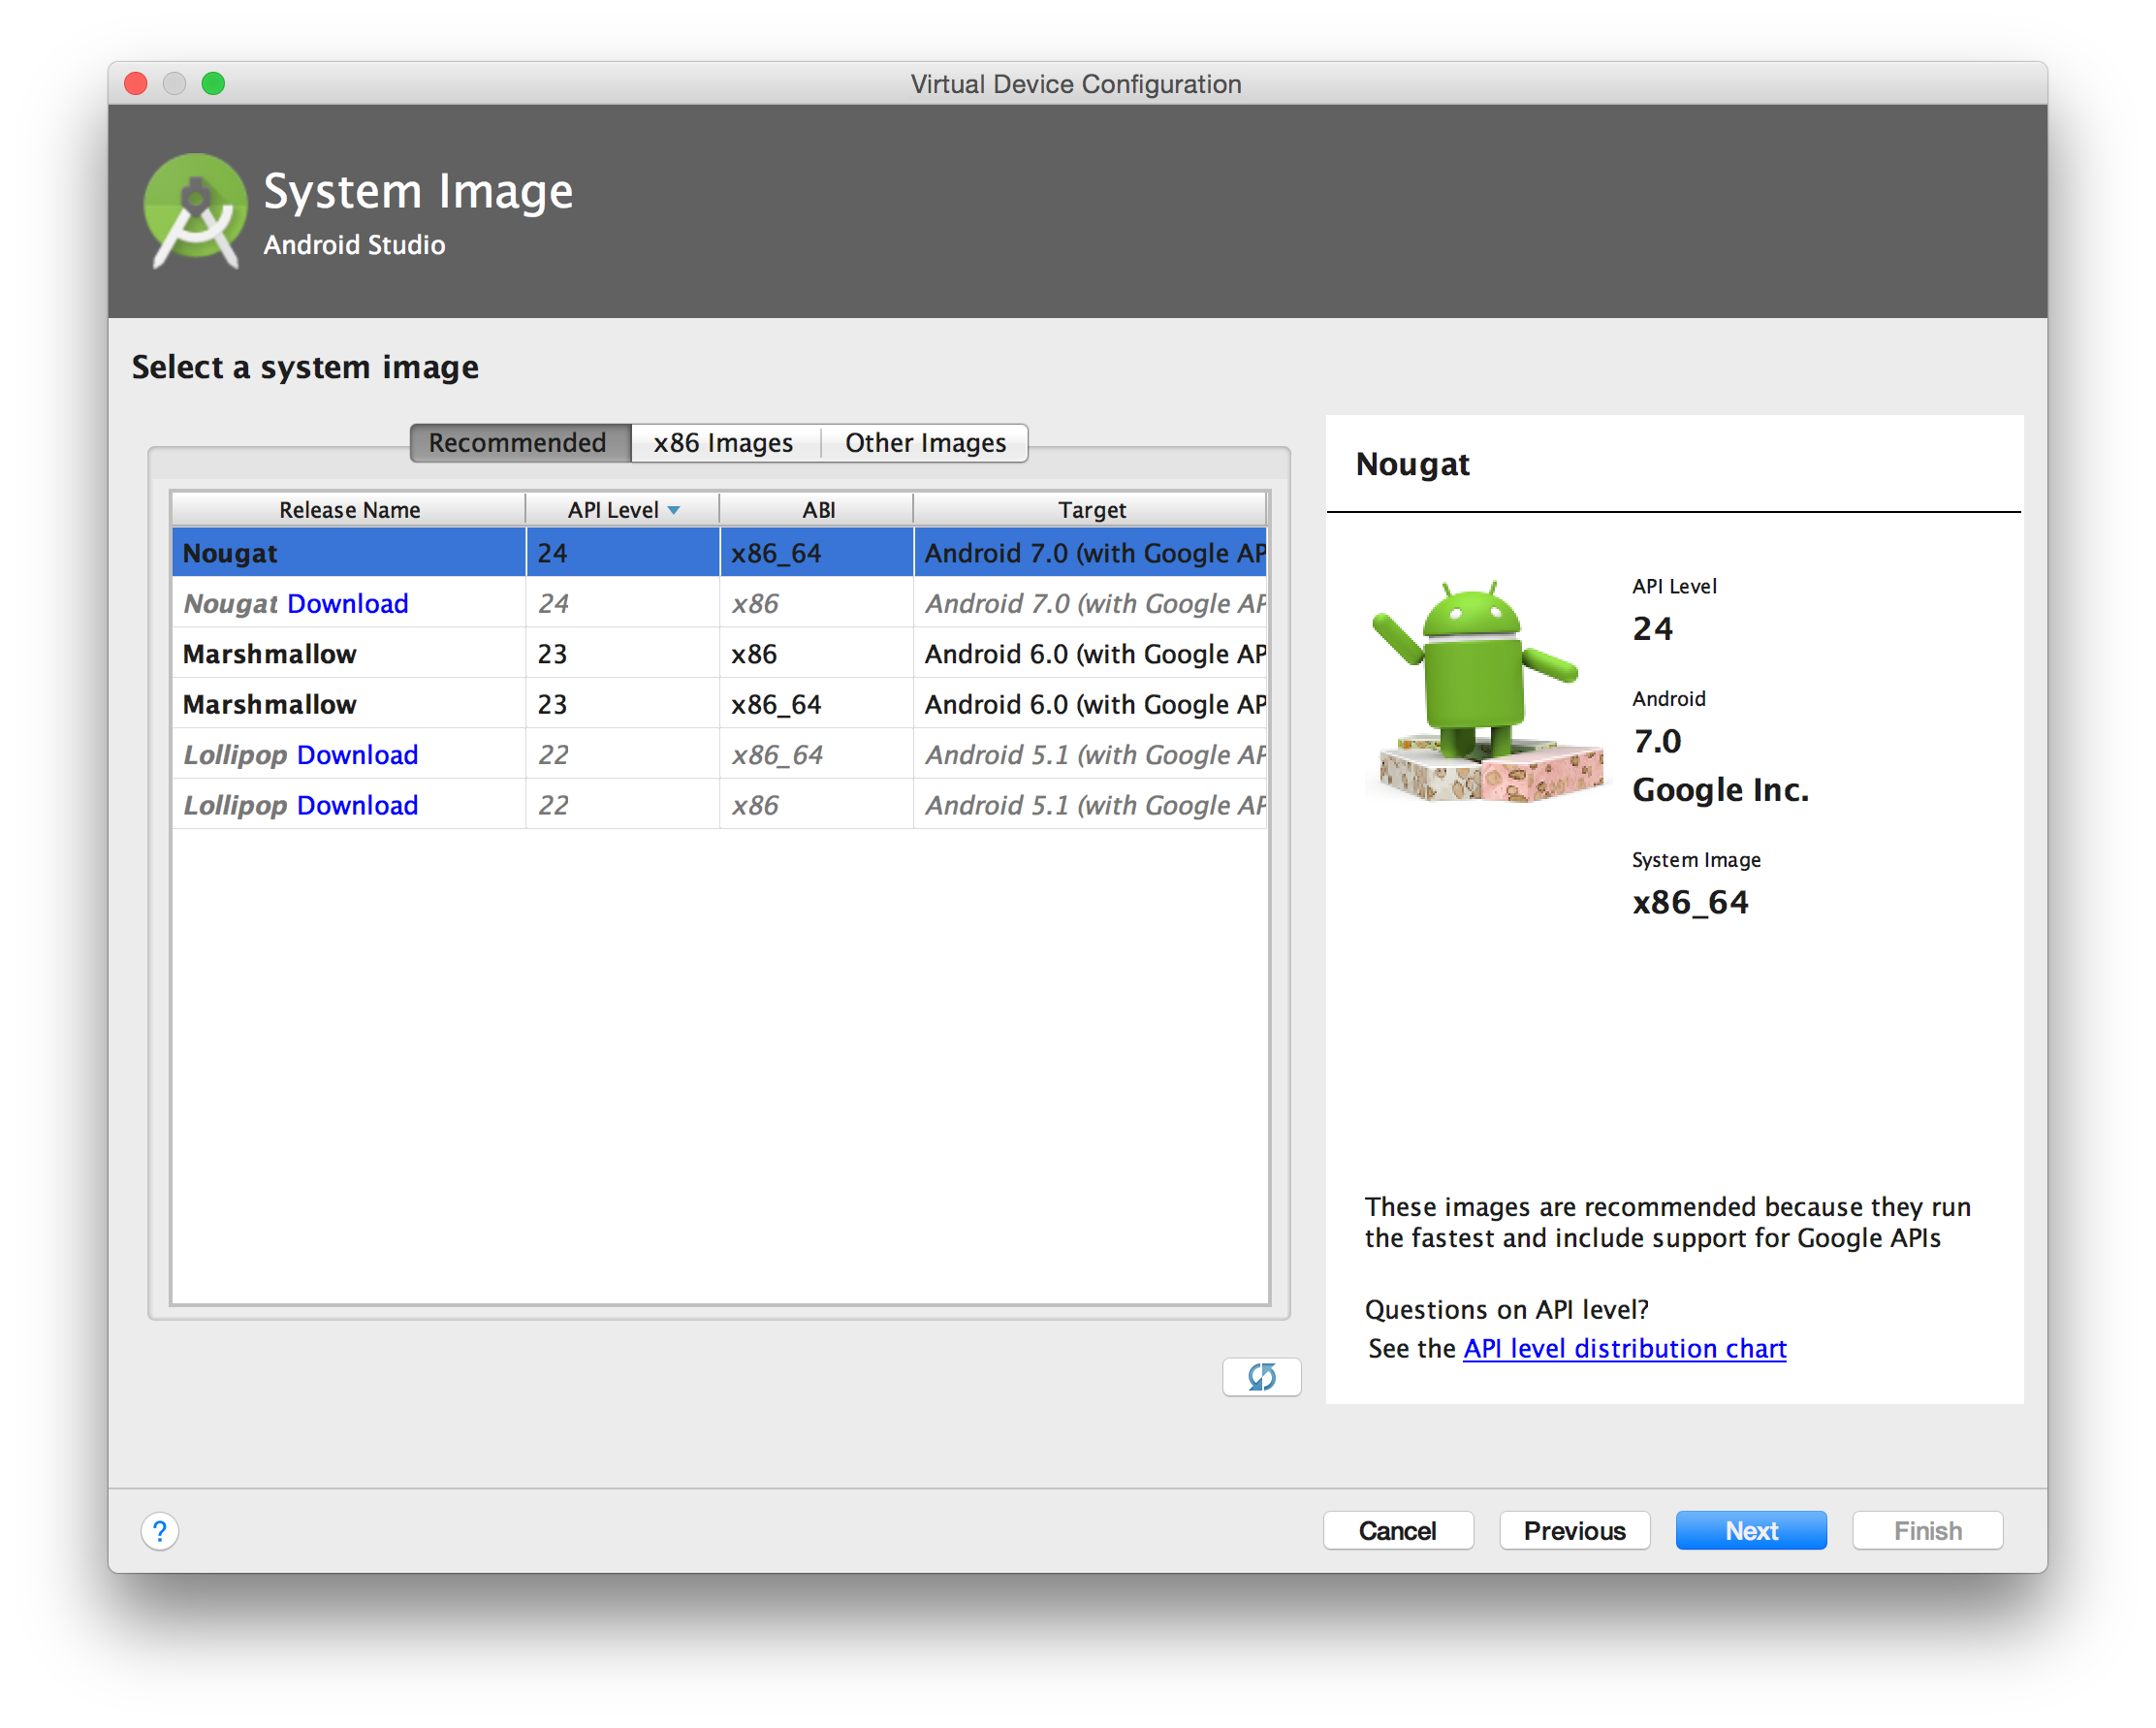
9. Choose a System Image. Available System Images will be displayed in bold. Note that the System Image for the AVD is different than the Target Platform for your app. For the most part, Android apps are backward compatible. You should choose a System Image for your AVD based on which platform the majority of your users will have. Click Next.
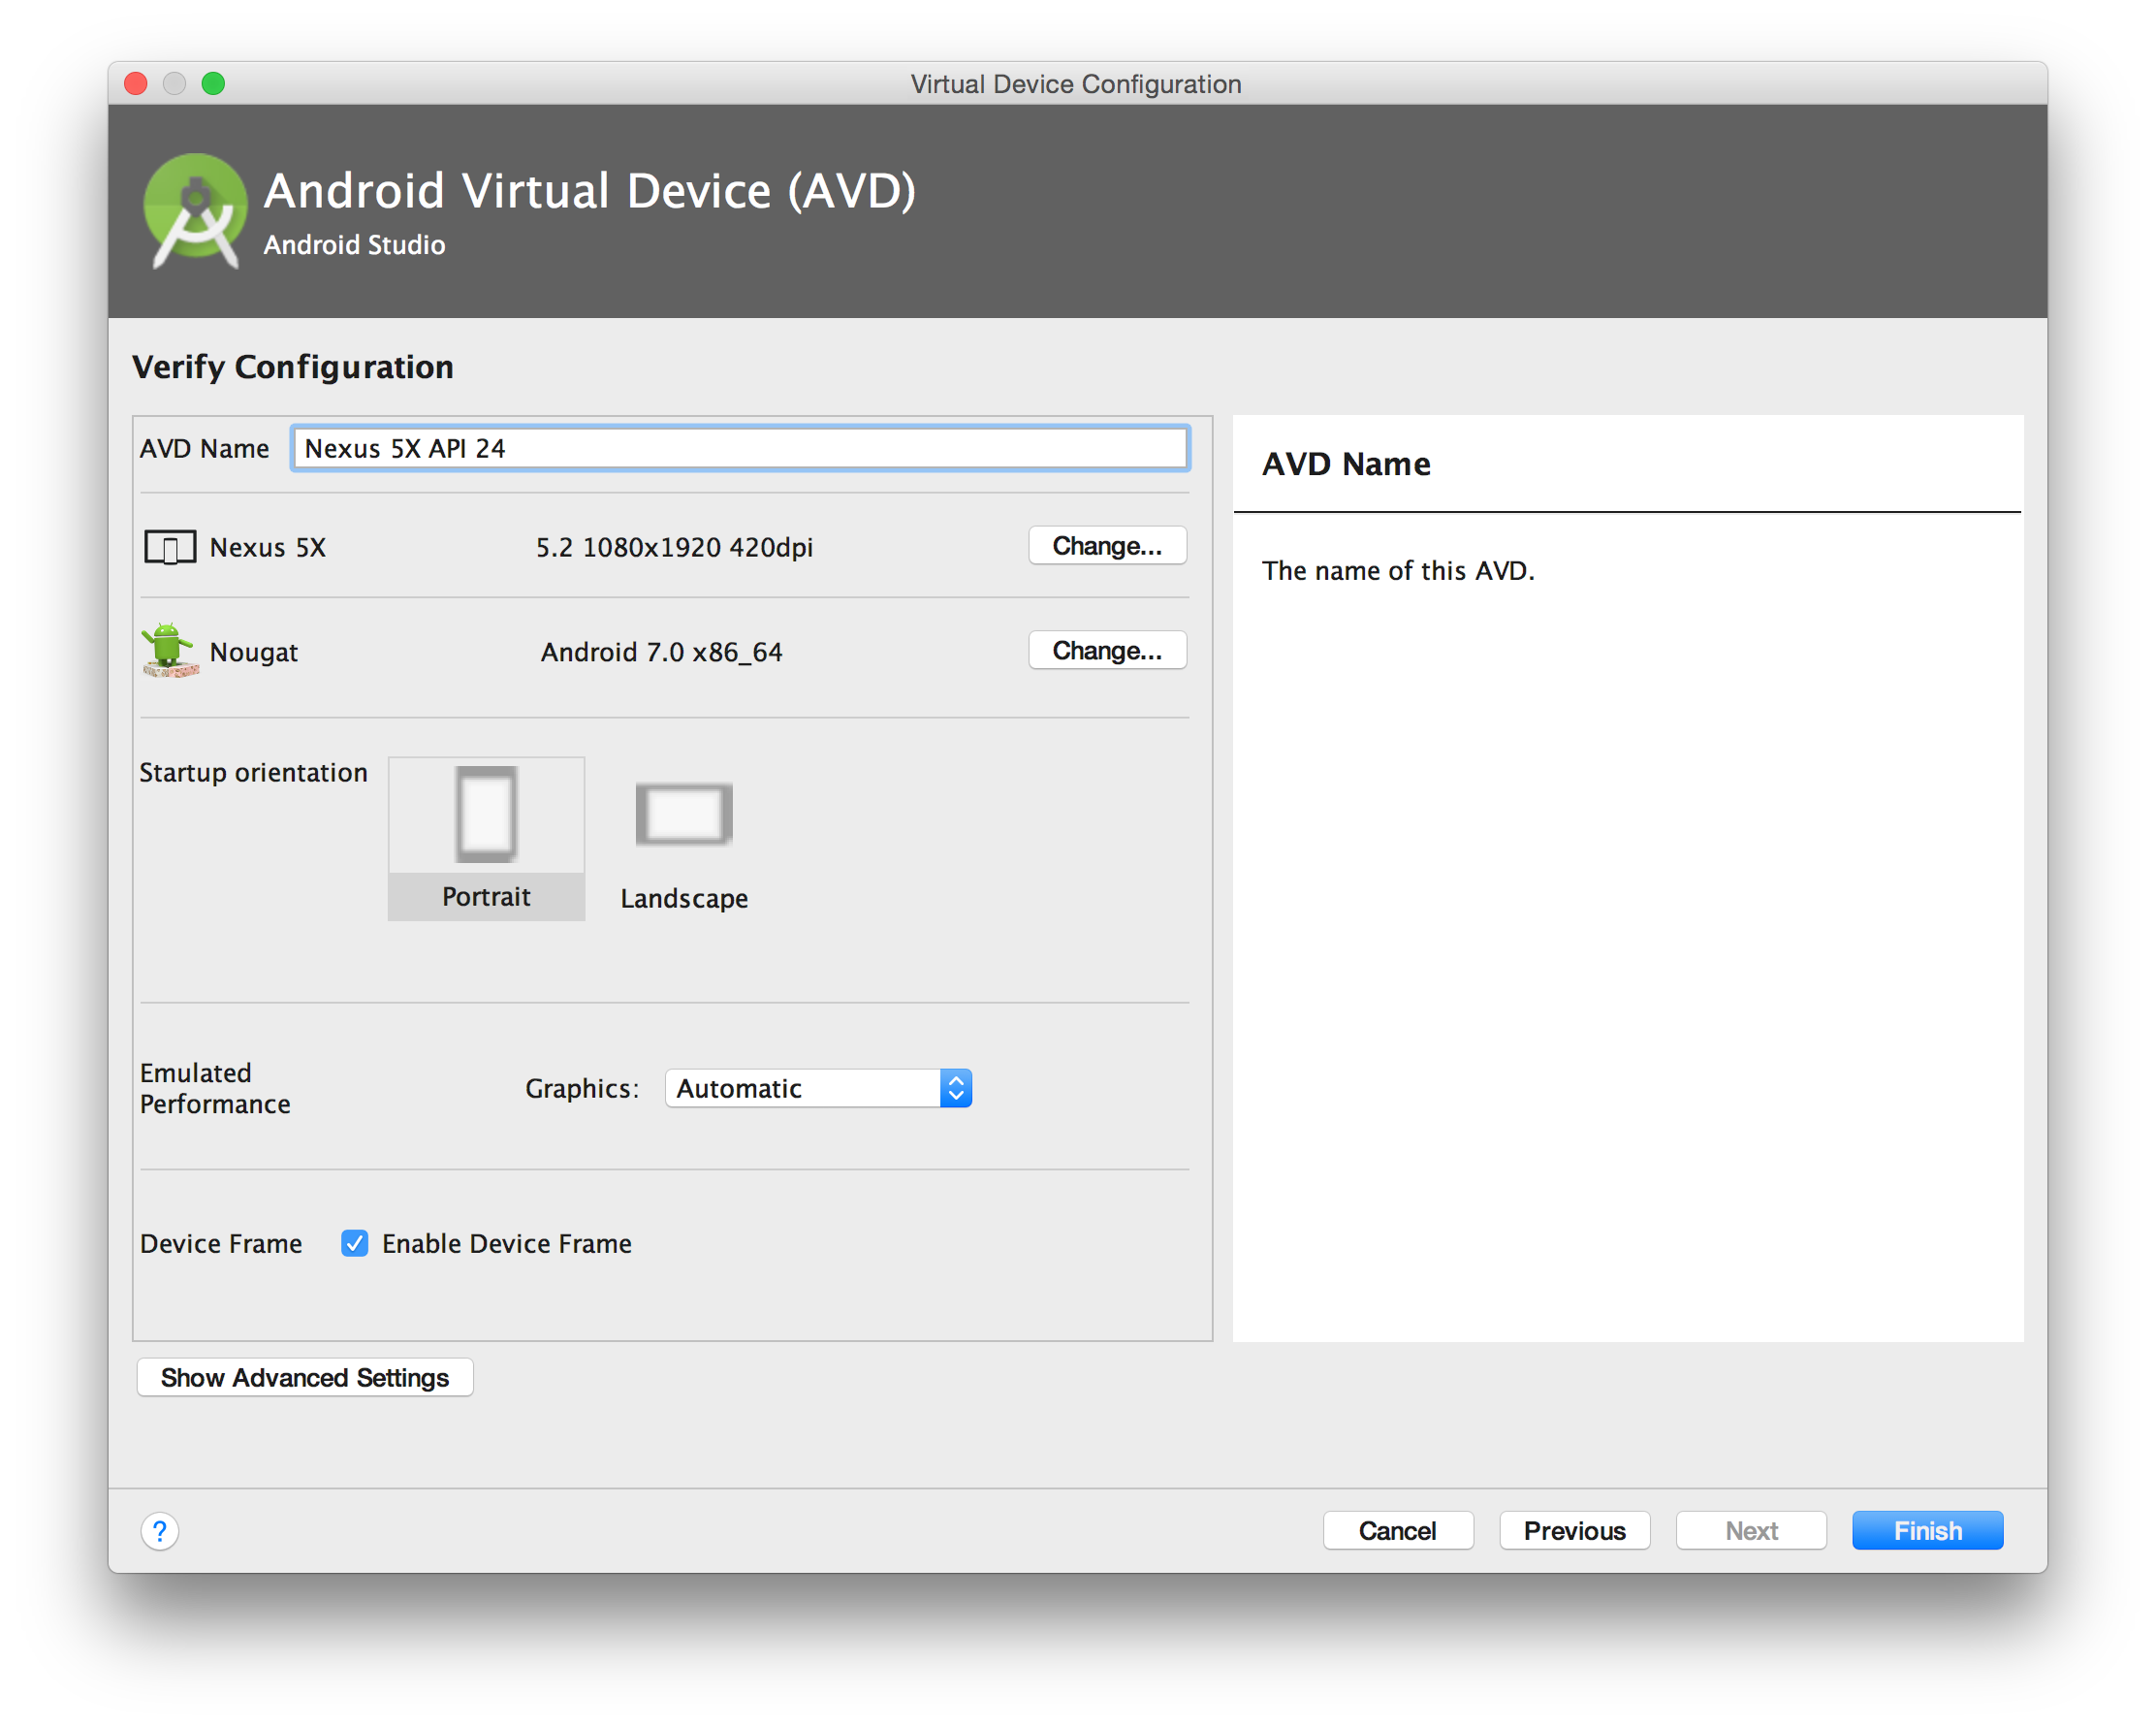
10. Verify the information you've provided for the AVD and click Finish.
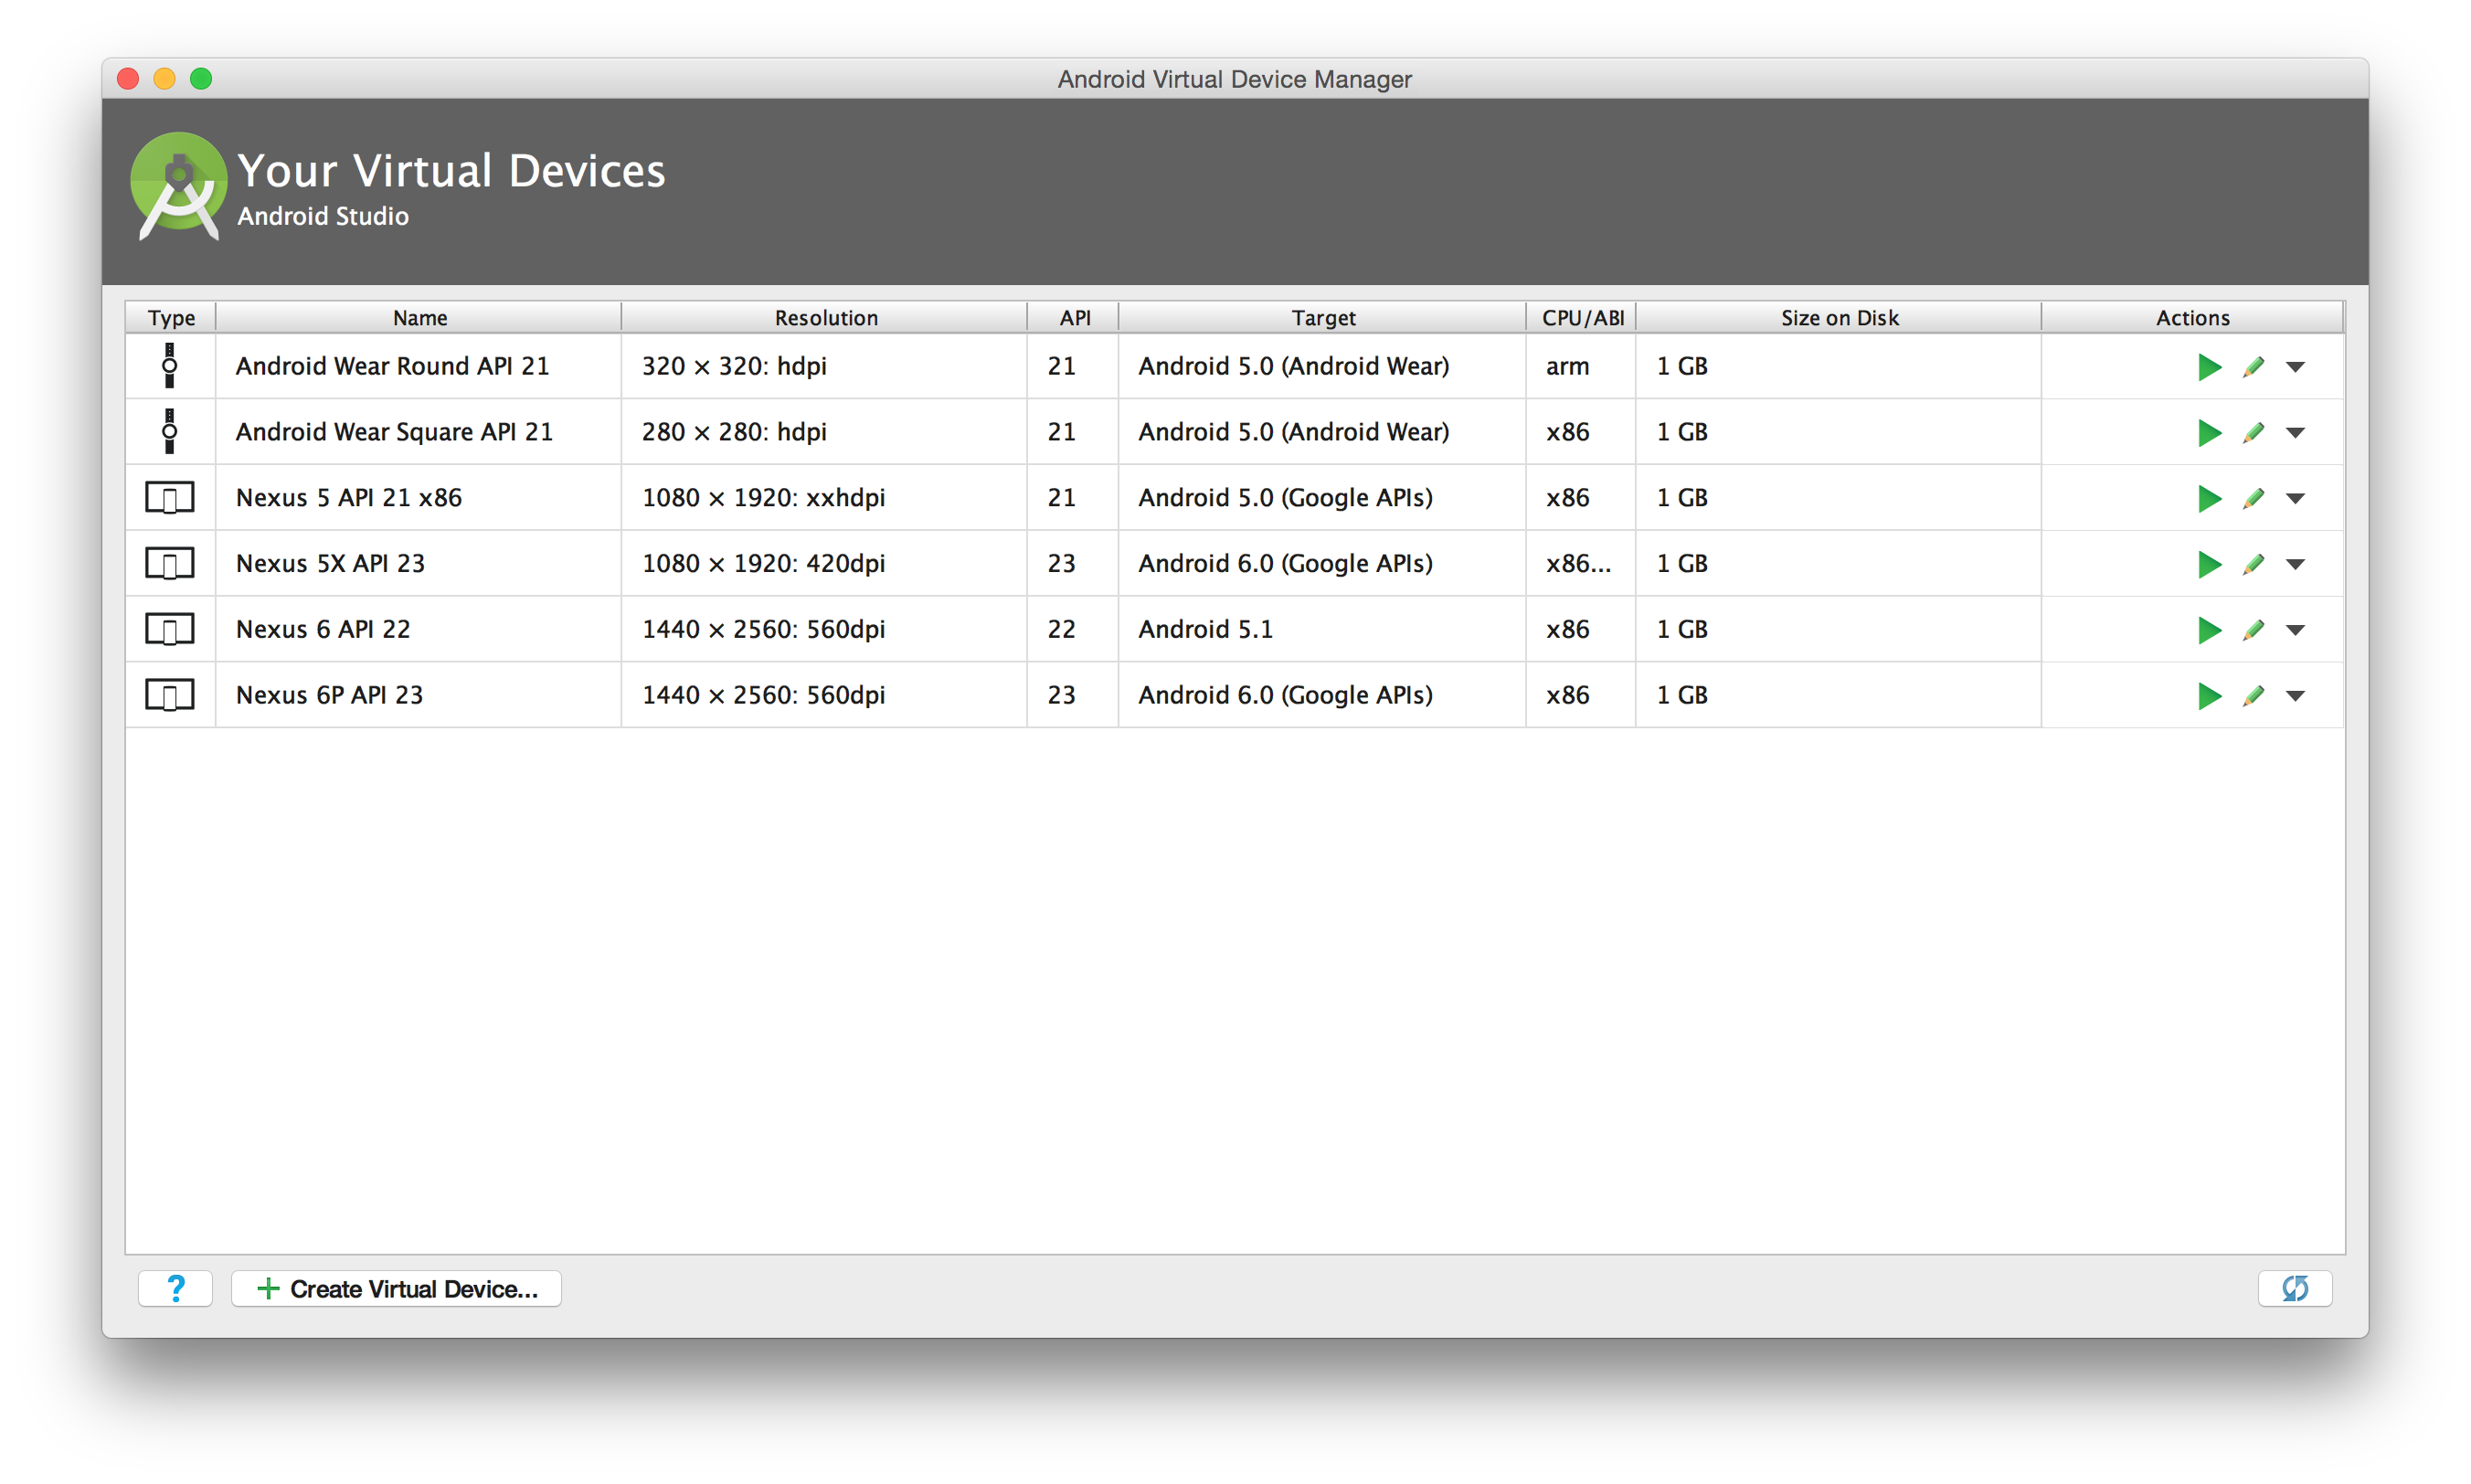
11. Android Studio will list all of the AVDs you have created in the AVD Manager.

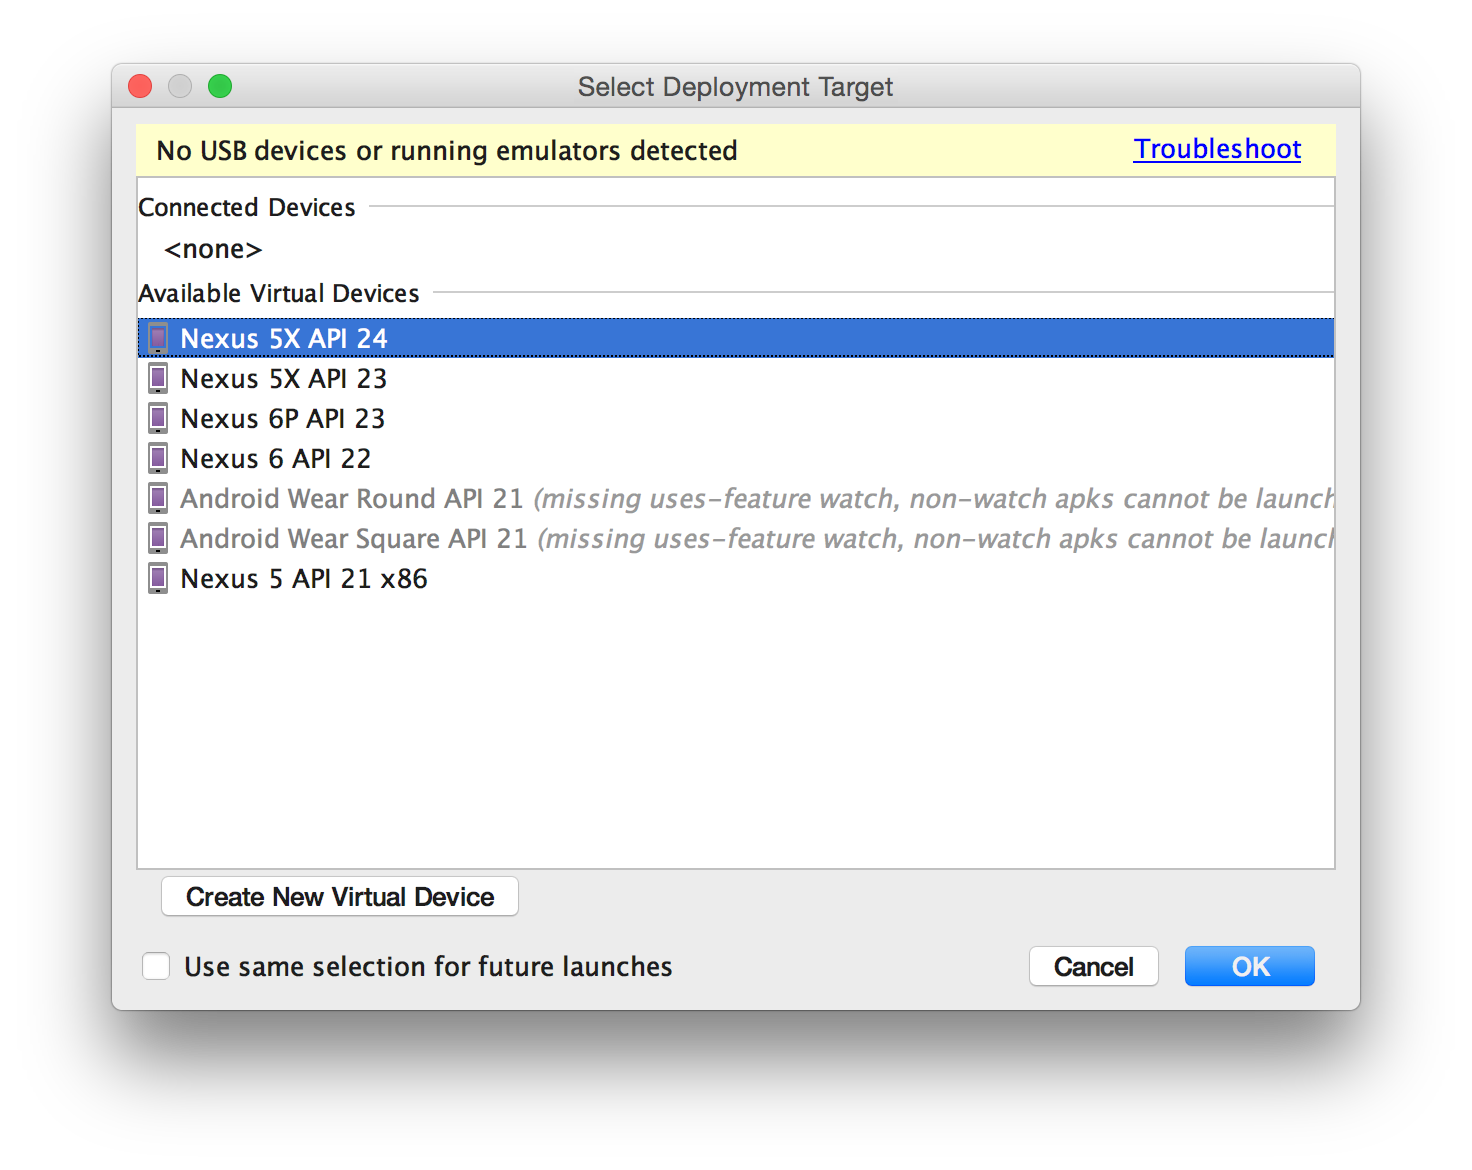
12. Run your app by clicking on the Run button on the toolbar. It looks like a green triangle. Choose which AVD to target. Click OK.
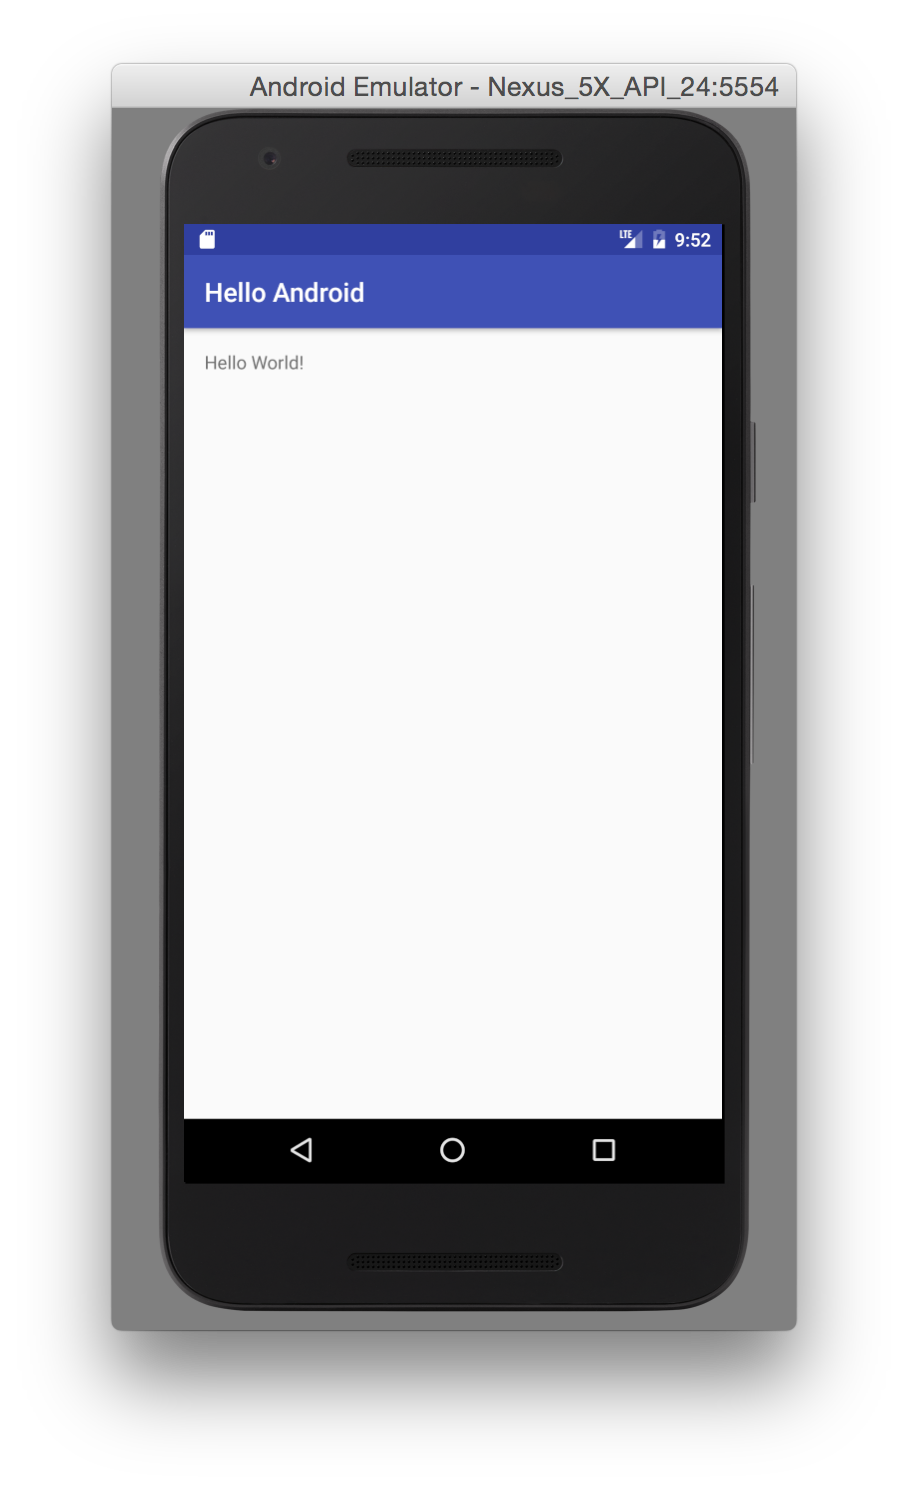
13. Android Studio will start the chosen AVD and install your app in the emulator.